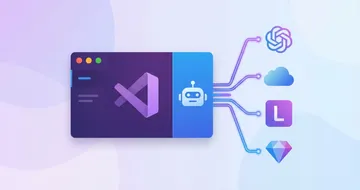
AI Tools API Setup Guide: Configure Continue, Aider, BoltAI, TypingMind & ChatBox With One API Key
Summary
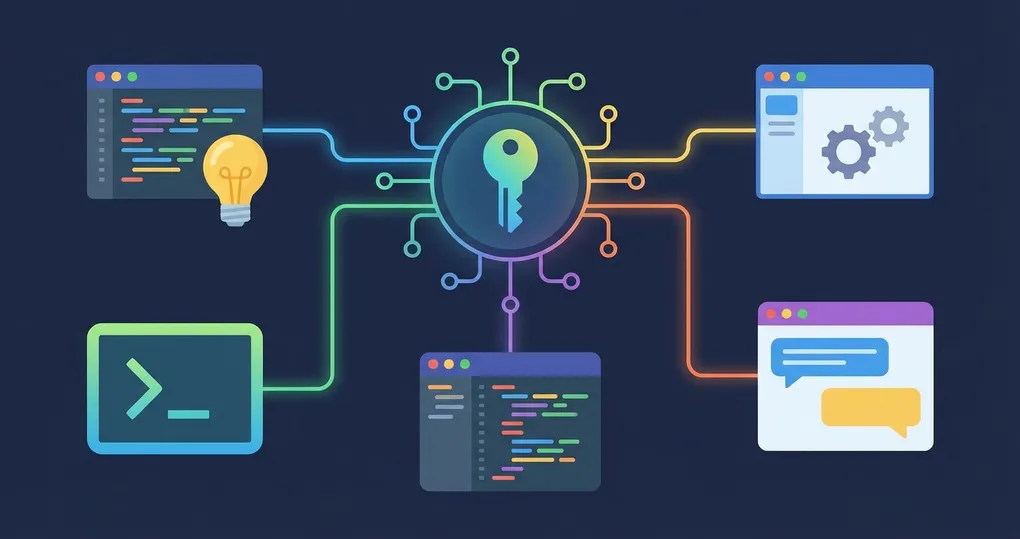
Every AI tool has its own settings panel, but the underlying pattern is the same: Base URL, API key, model ID. This guide covers the exact configuration steps for five popular AI tools — Continue (VS Code/JetBrains), Aider (terminal coding assistant), BoltAI (macOS native), TypingMind (web chat frontend), and ChatBox (desktop client). All configured through OfoxAI so you use one API key across every tool and every model. The guide ends with a universal config principle for any tool not listed here.
OfoxAI is compatible with OpenAI / Anthropic / Gemini protocols, which means it works with virtually any tool that uses these protocols.
For the official integration reference, see the OfoxAI Other Integrations docs.
Three Protocols, One Platform
Before configuring individual tools, understand the three API protocols that OfoxAI supports. Most tools only need the first one, but knowing all three helps when a tool has native support for a specific provider.
| Tool’s Protocol | Base URL | API Key Header |
|---|---|---|
| OpenAI Compatible | https://api.ofox.ai/v1 | Authorization: Bearer sk-xxx |
| Anthropic Native | https://api.ofox.ai/anthropic | x-api-key: sk-xxx |
| Gemini Native | https://api.ofox.ai/gemini | x-goog-api-key: sk-xxx |
In most cases, the OpenAI-compatible protocol is all you need.
1. Continue (VS Code / JetBrains)
Continue is an open-source AI coding assistant supporting VS Code and JetBrains IDEs. It provides code completion, explanation, refactoring suggestions, and chat.
Configuration
Continue stores its configuration in ~/.continue/config.json. Add entries to the models array:
{
  "models": [
    {
      "title": "OfoxAI GPT-4o",
      "provider": "openai",
      "model": "openai/gpt-4o",
      "apiBase": "https://api.ofox.ai/v1",
      "apiKey": "<your OFOXAI_API_KEY>"
    },
    {
      "title": "OfoxAI Claude Sonnet",
      "provider": "openai",
      "model": "anthropic/claude-sonnet-4.6",
      "apiBase": "https://api.ofox.ai/v1",
      "apiKey": "<your OFOXAI_API_KEY>"
    }
  ]
}
Key details:
- Set
providerto"openai"since we are using the OpenAI-compatible protocol - Use the
provider/model-nameformat for model IDs - Set
apiBasetohttps://api.ofox.ai/v1— do not append/chat/completions - Save the file and Continue reloads the config automatically
Verification
Open the Continue panel in your IDE, select one of the configured models, and send a test message. If you get a response, the setup is working.
2. Aider (Terminal AI Coding Assistant)
Aider is a command-line AI pair programming tool. It integrates with Git, supports multi-file editing, and reads API configuration from environment variables.
Configuration
Set two environment variables in your ~/.zshrc (or ~/.bashrc):
export OPENAI_API_KEY=<your OFOXAI_API_KEY>
export OPENAI_API_BASE=https://api.ofox.ai/v1
Then launch Aider with your preferred model:
aider --model openai/gpt-4oVerification
Run aider --model openai/gpt-4o and give it a simple coding task. If it responds and can edit files, the configuration is correct.
3. BoltAI (macOS)
BoltAI is a native macOS AI assistant app with system-wide integration.
Configuration
- Open BoltAI > Preferences > Providers
- Add Custom OpenAI
- Enter Base URL:
https://api.ofox.ai/v1 - Enter your API Key
Add models manually using the provider/model-name format.
4. TypingMind
TypingMind is an AI chat interface tool with prompt templates and conversation management.
Configuration
- Go to Settings > Custom Endpoint
- API Endpoint:
https://api.ofox.ai/v1 - API Key: Your OfoxAI API Key
After configuring the endpoint, manually add model IDs to the model selector: openai/gpt-4o, anthropic/claude-sonnet-4.6, google/gemini-3.1-flash-lite-preview.
5. ChatBox
ChatBox is a cross-platform AI desktop client available on Windows, macOS, and Linux.
Configuration
- Open ChatBox > Settings > AI Provider
- Select OpenAI API Compatible
- API Domain:
https://api.ofox.ai - API Key: Your OfoxAI API Key
Note that ChatBox’s API Domain field takes only the root domain https://api.ofox.ai without the /v1 suffix. ChatBox appends the path automatically.
Universal Configuration Principle
For any tool not listed above, the general steps are:
- Find the tool’s API configuration settings
- Set the API Base URL to
https://api.ofox.ai/v1(if the tool auto-appends/v1, usehttps://api.ofox.aiinstead) - Set the API Key to your OfoxAI Key
- Use the
provider/model-nameformat for model names (e.g.,openai/gpt-4o,anthropic/claude-opus-4.6) - Test by sending a simple message
If the tool offers a protocol selector, choose OpenAI-compatible. If the tool has native Anthropic support and you need Claude-specific features, use https://api.ofox.ai/anthropic as the Base URL.
Why Use an Aggregation Platform
You could register separate accounts with OpenAI, Anthropic, and Google, but it creates friction:
Key management overhead. Three providers means three accounts, three API keys, three billing dashboards. Multiply by the number of tools you use, and tracking becomes tedious.
Inconsistent access requirements. Some providers require region-specific credit cards or have minimum spend thresholds. An aggregation platform removes those barriers.
Zero-cost model switching. Want to switch from GPT-4o to Claude Sonnet? Change the model ID. No key rotation, no Base URL changes.
Unified billing. One balance, one invoice, one usage dashboard across all models and all tools.
If you have successfully configured OfoxAI in a tool not listed here, contributions are welcome via PR to the documentation repository.
Wrapping Up
The configuration pattern across all five tools is the same: Base URL + API key + model ID. Remember the three OfoxAI protocol endpoints, and you can configure any AI tool that supports custom API endpoints.
For tool-specific edge cases or additional integrations, check the OfoxAI integration docs.