Claude Code Custom API Setup with CC Switch — Step-by-Step Guide (2026)

What This Guide Covers
Claude Code is the official AI coding CLI tool from Anthropic. It runs in your terminal, understands your entire codebase, and helps you write, refactor, and debug code through natural language conversation. This guide walks through configuring Claude Code to use OfoxAI as your API provider, covering installation, provider setup via CC Switch, the Skills extension system, and the CCometixLine status bar plugin.
For a multi-tool overview covering Cursor, Claude Code, and Cline together, see: How to Set Up Custom API Endpoints for Cursor, Claude Code, Cline & More.
Why Use OfoxAI with Claude Code
Connecting Claude Code directly to Anthropic’s API works, but OfoxAI adds production-grade infrastructure benefits:
- High Rate Quota — 200 RPM by default, unlimited TPM, meeting high-frequency coding demands
- 99.9% SLA — Multi-node redundancy with automatic failover
- Low Latency — P99 latency < 200ms
- Full Protocol Support — 100% compatible with the native Anthropic protocol, including
cache_controlandextended thinking
Step 1: Install Claude Code
Claude Code is available in the terminal, IDEs, desktop apps, and browsers. You need an OfoxAI API Key to get started — no Claude subscription required.
Terminal CLI
The terminal CLI is the fully featured way to use Claude Code.
macOS / Linux / WSL (Native Install — Recommended):
curl -fsSL https://claude.ai/install.sh | bashWindows PowerShell:
irm https://claude.ai/install.ps1 | iexWindows CMD:
curl -fsSL https://claude.ai/install.cmd -o install.cmd && install.cmd && del install.cmdWindows requires Git for Windows to be installed first. The native install will auto-update in the background.
Homebrew (macOS):
brew install --cask claude-codeThe Homebrew install does not auto-update. Run brew upgrade claude-code periodically.
WinGet (Windows):
winget install Anthropic.ClaudeCodeThe WinGet install does not auto-update. Run winget upgrade Anthropic.ClaudeCode periodically.
VS Code / Cursor
Claude Code provides inline diffs, @-mentions, plan review, and conversation history directly in your editor.
- Search for “Claude Code” in the Extensions view (
Cmd+Shift+X/Ctrl+Shift+X) - After installation, open the Command Palette (
Cmd+Shift+P/Ctrl+Shift+P), type “Claude Code”, and select Open in New Tab
JetBrains IDE
Supports IntelliJ IDEA, PyCharm, WebStorm, and more. Install the Claude Code plugin from the JetBrains Marketplace, then restart the IDE.
Verify Installation
claude --version
# A version number output indicates successful installation
Step 2: Configure Model Provider with CC Switch
We recommend using CC Switch to complete the configuration. CC Switch is an open-source provider management tool with a visual interface — no need to manually edit JSON or environment variables.
Install CC Switch
macOS:
brew install --cask cc-switchOr download the .dmg from the CC Switch releases page.
Windows:
Download the .msi installer from the CC Switch releases page.
Linux:
# Debian / Ubuntu
sudo dpkg -i CC-Switch-*.deb

# Fedora / RHEL
sudo rpm -i CC-Switch-*.rpm

# AppImage
chmod +x CC-Switch-*.AppImage && ./CC-Switch-*.AppImage
CC Switch supports macOS 12+, Windows 10+, Ubuntu 22.04+ / Debian 11+ / Fedora 34+.
Add OfoxAI Provider
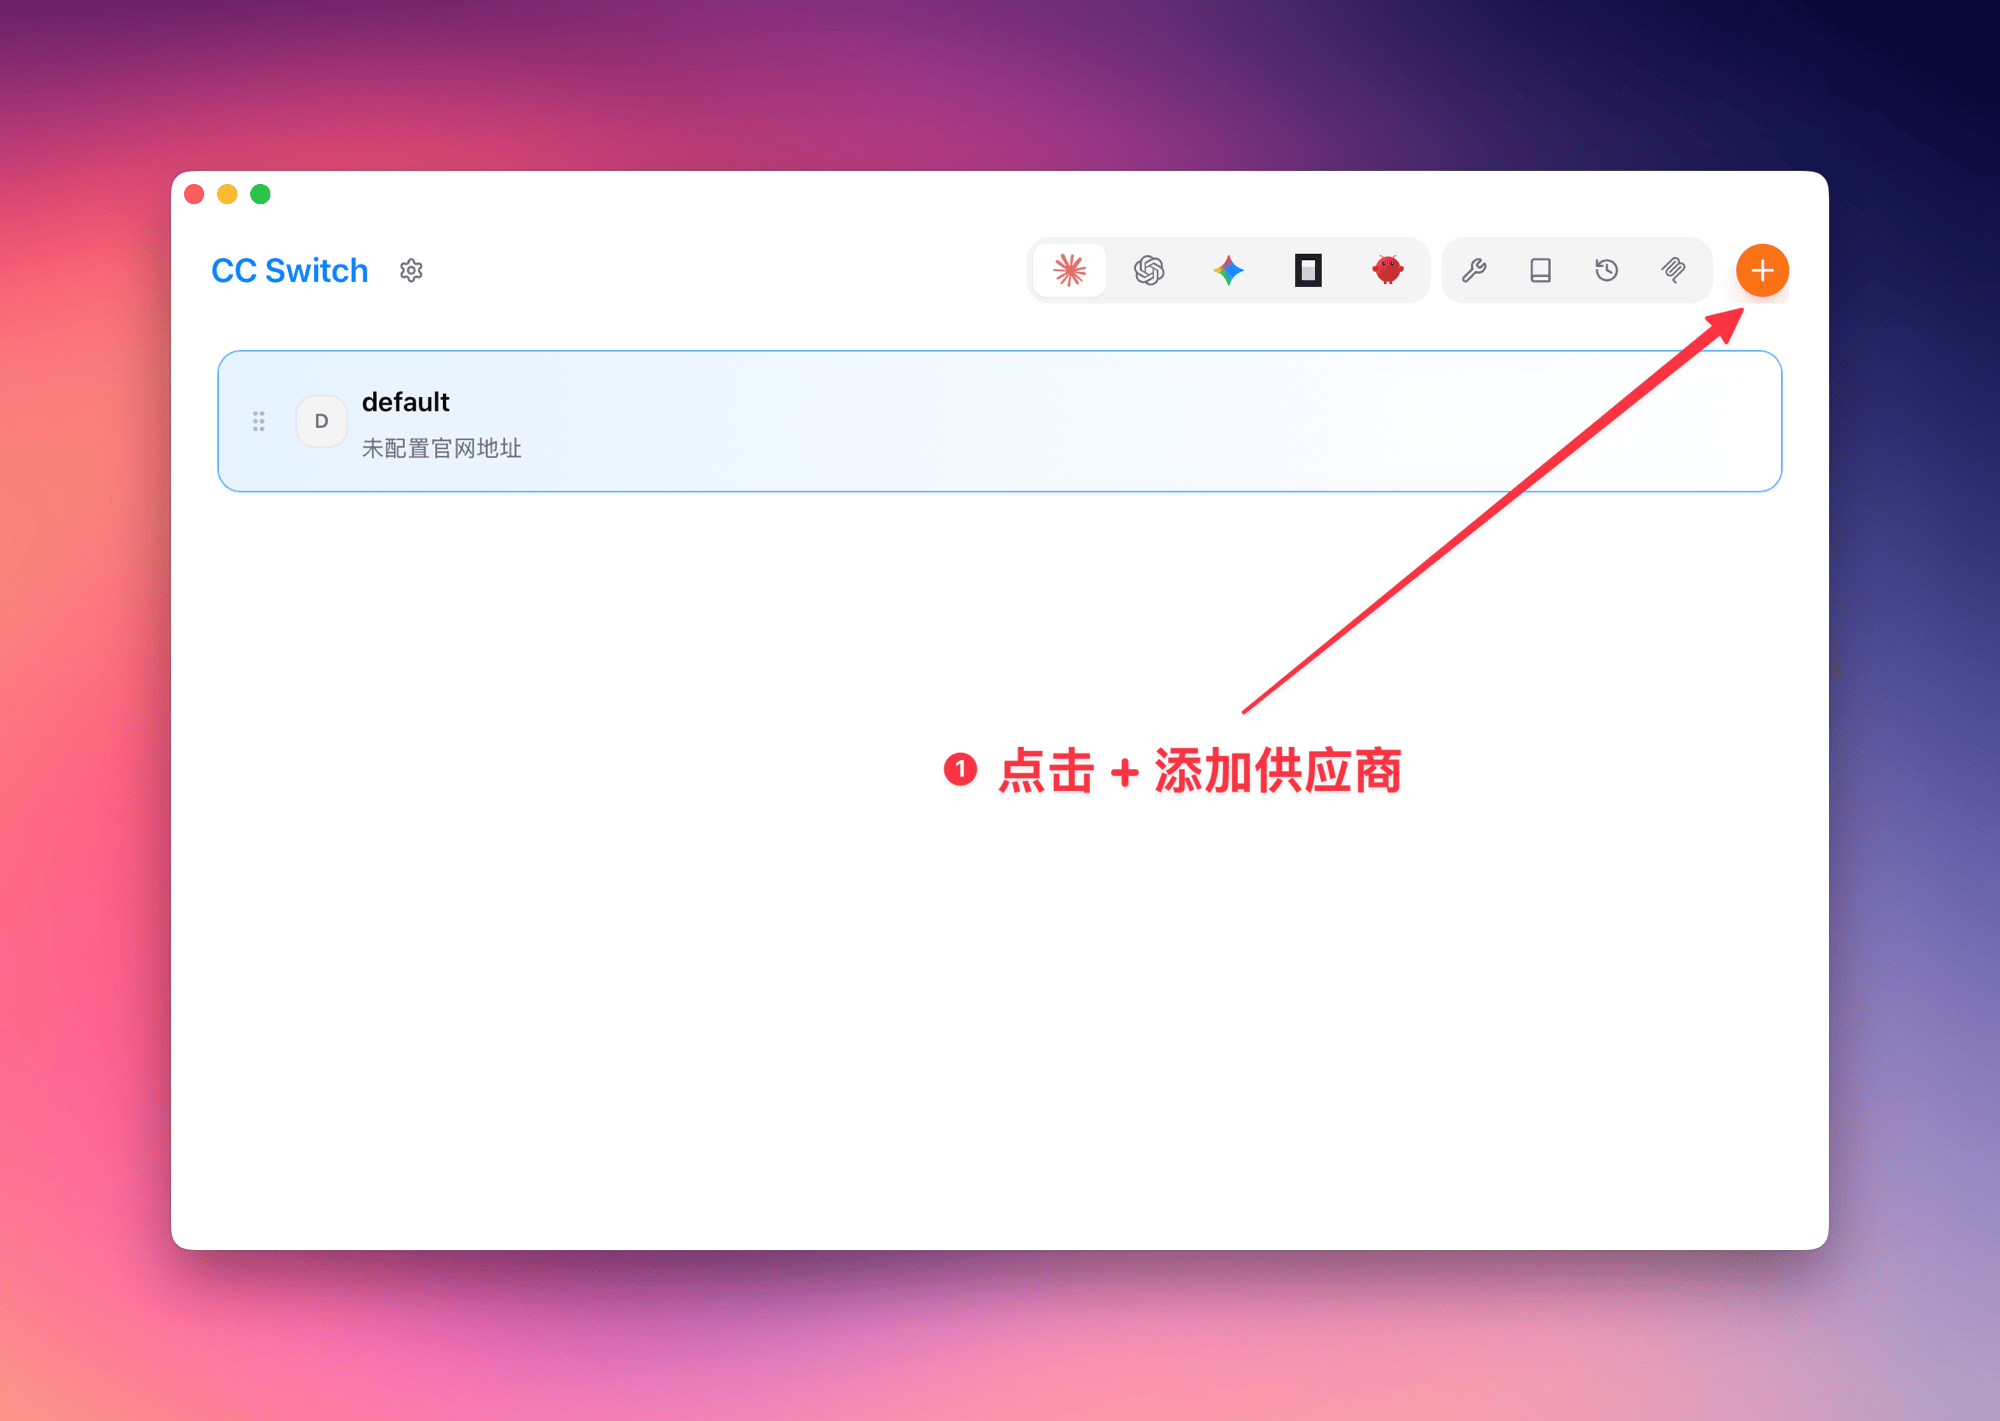
Open CC Switch, go to the provider management page, and click the + button in the upper right corner.
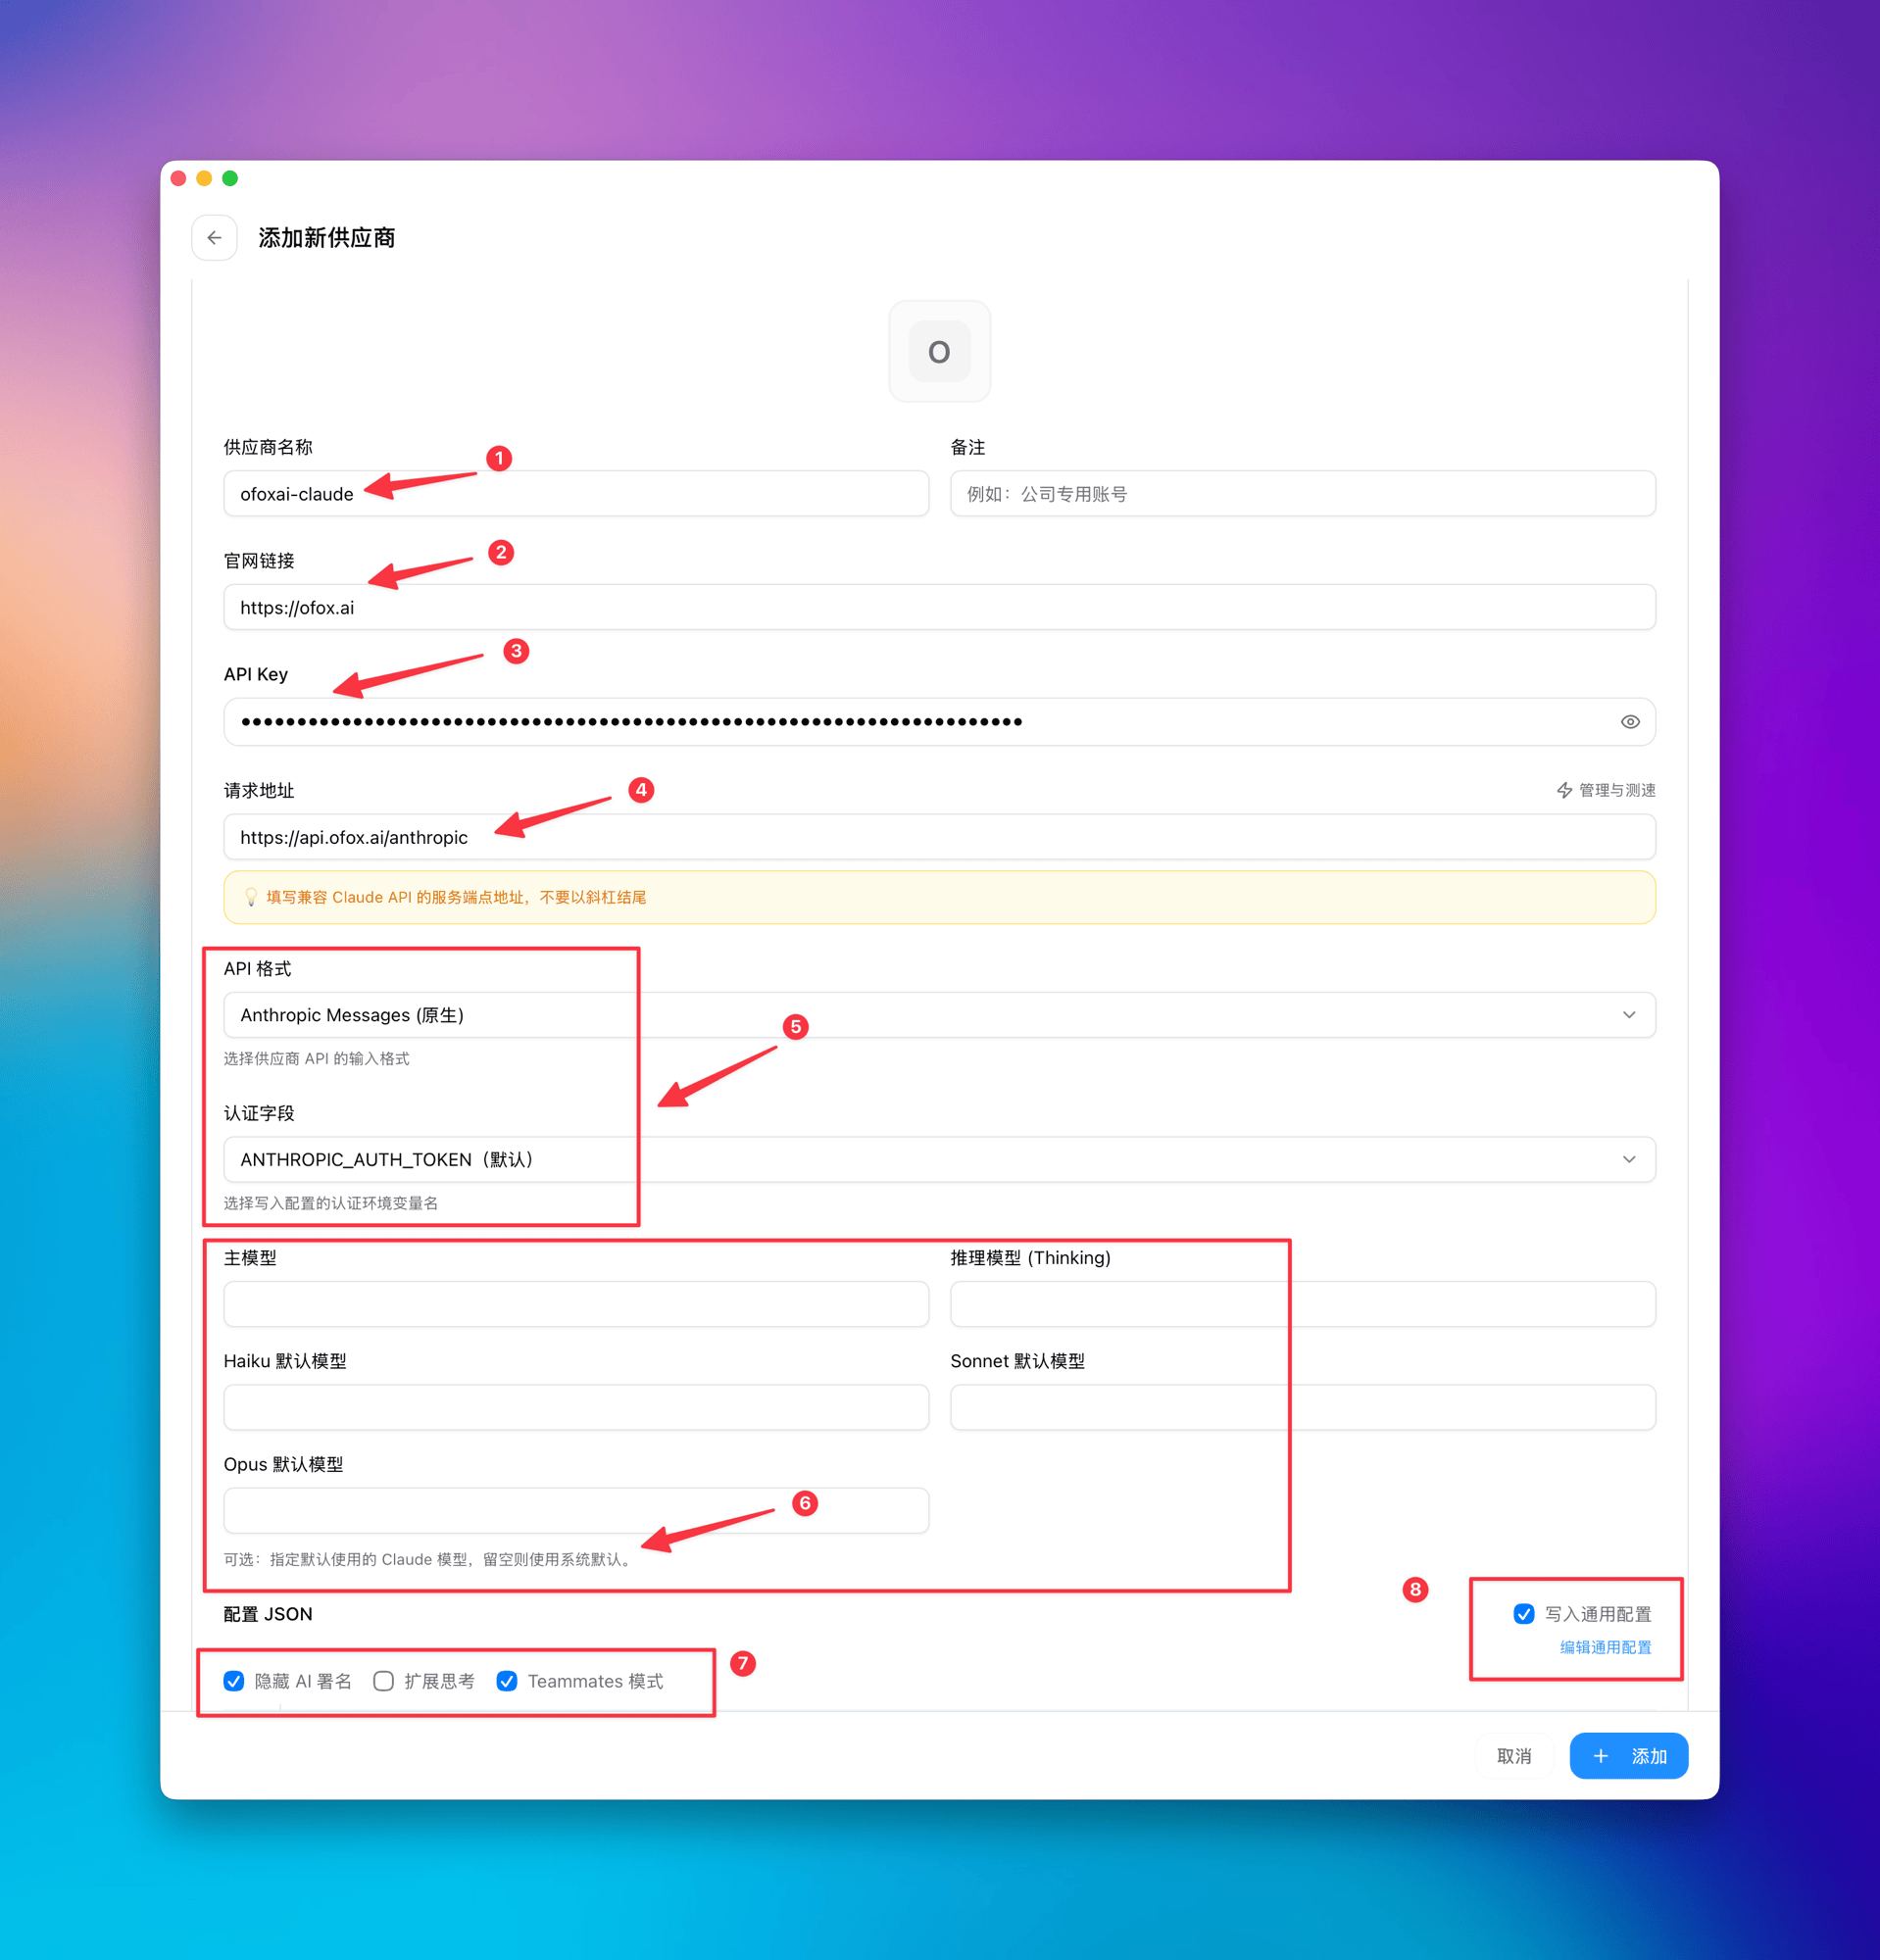
Fill in the configuration:
| Field | Value | Description |
|---|---|---|
| Provider Name | ofoxai-claude | Custom name for easy identification |
| Website URL | https://ofox.ai | Provider website |
| API Key | Your OfoxAI API Key | Get it at app.ofox.ai |
| Request URL | https://api.ofox.ai/anthropic | Do not add a trailing slash |
| API Format / Auth Field | Anthropic Messages (Native) / ANTHROPIC_AUTH_TOKEN (Default) | Keep defaults |
| Model Configuration | Leave empty | Uses the default Claude model |
| Options | Check “Hide AI Signature” and “Teammates Mode” | Check as needed |
| Write to Global Config | Checked | Writes to global config, applies to all projects |
Click + Add to complete the setup.
CC Switch automatically writes to ~/.claude/settings.json — no manual file editing required.
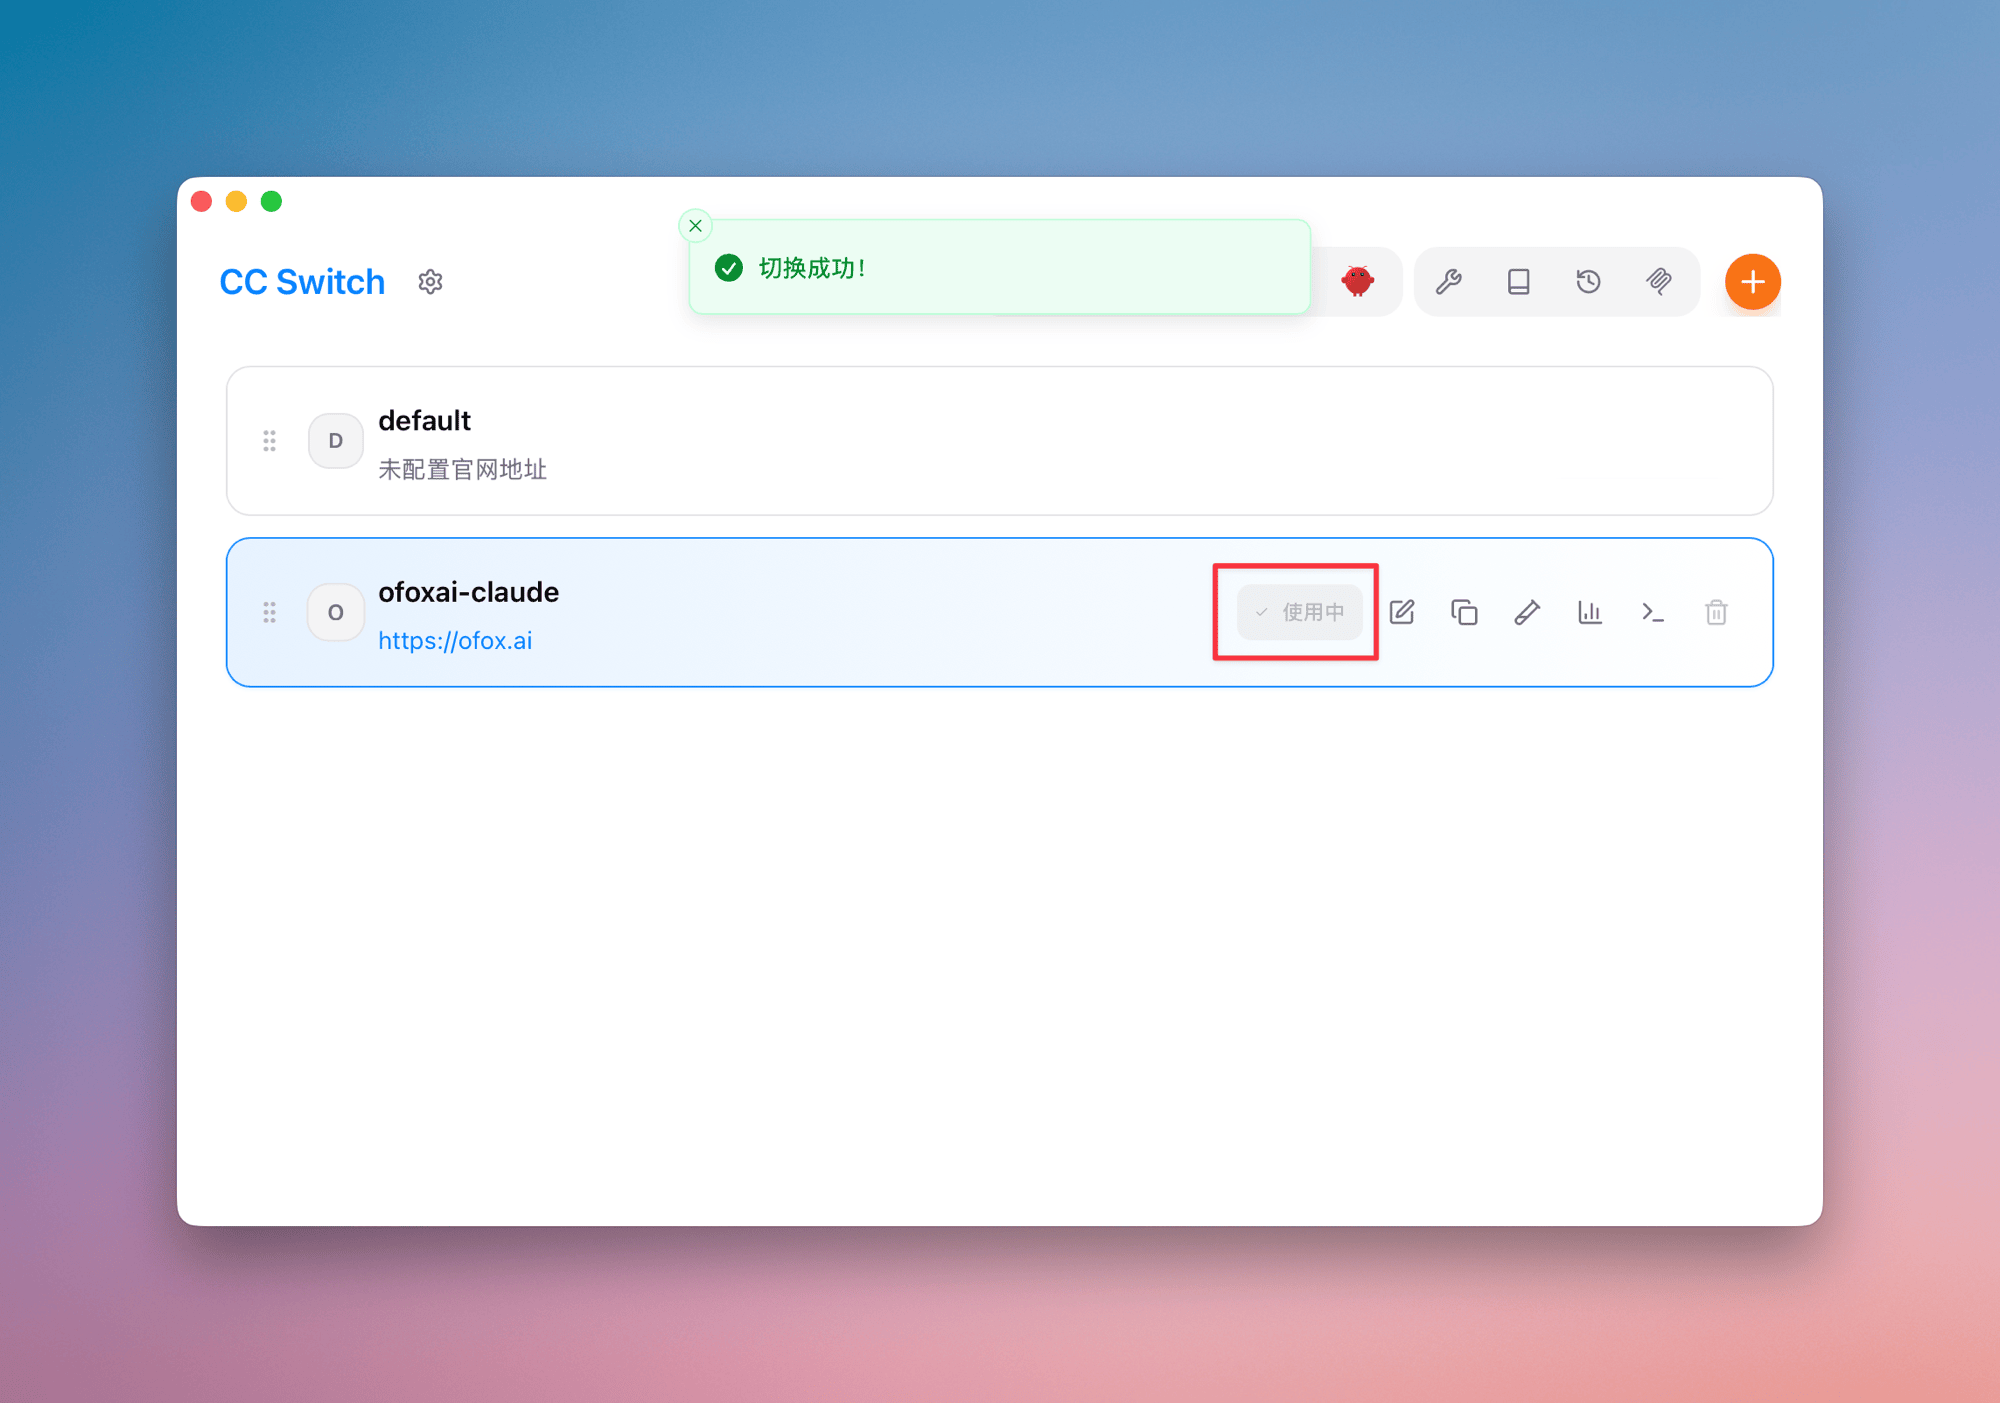
Activate the Provider
After adding, return to the list, select ofoxai-claude, and click the Use button. A “Switched successfully” notification confirms the setup is complete.
Step 3: Verify Configuration
Navigate to your project directory and start Claude Code:
cd your-project
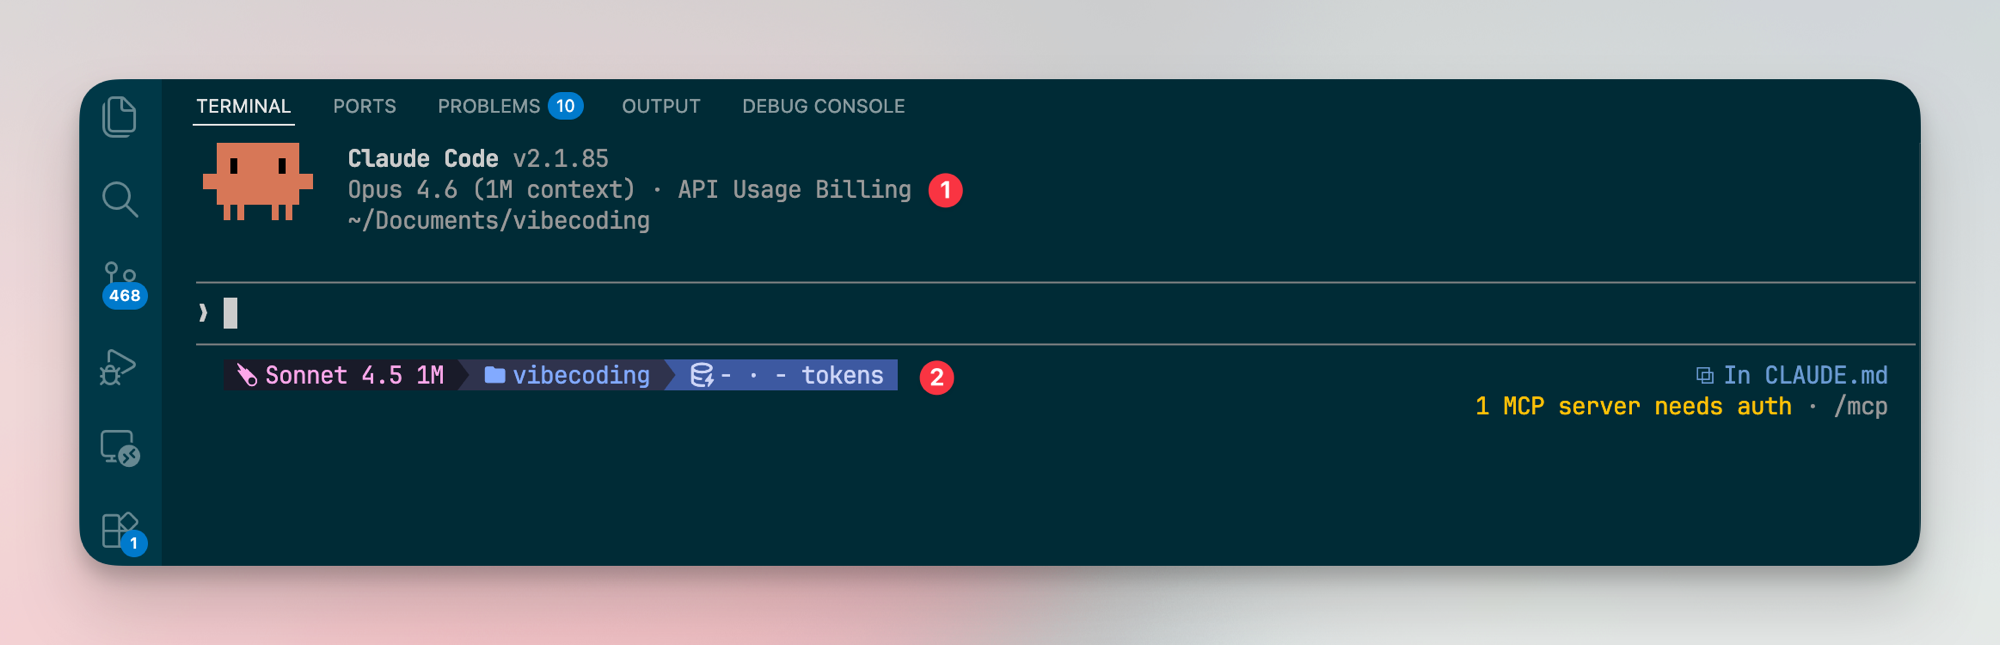
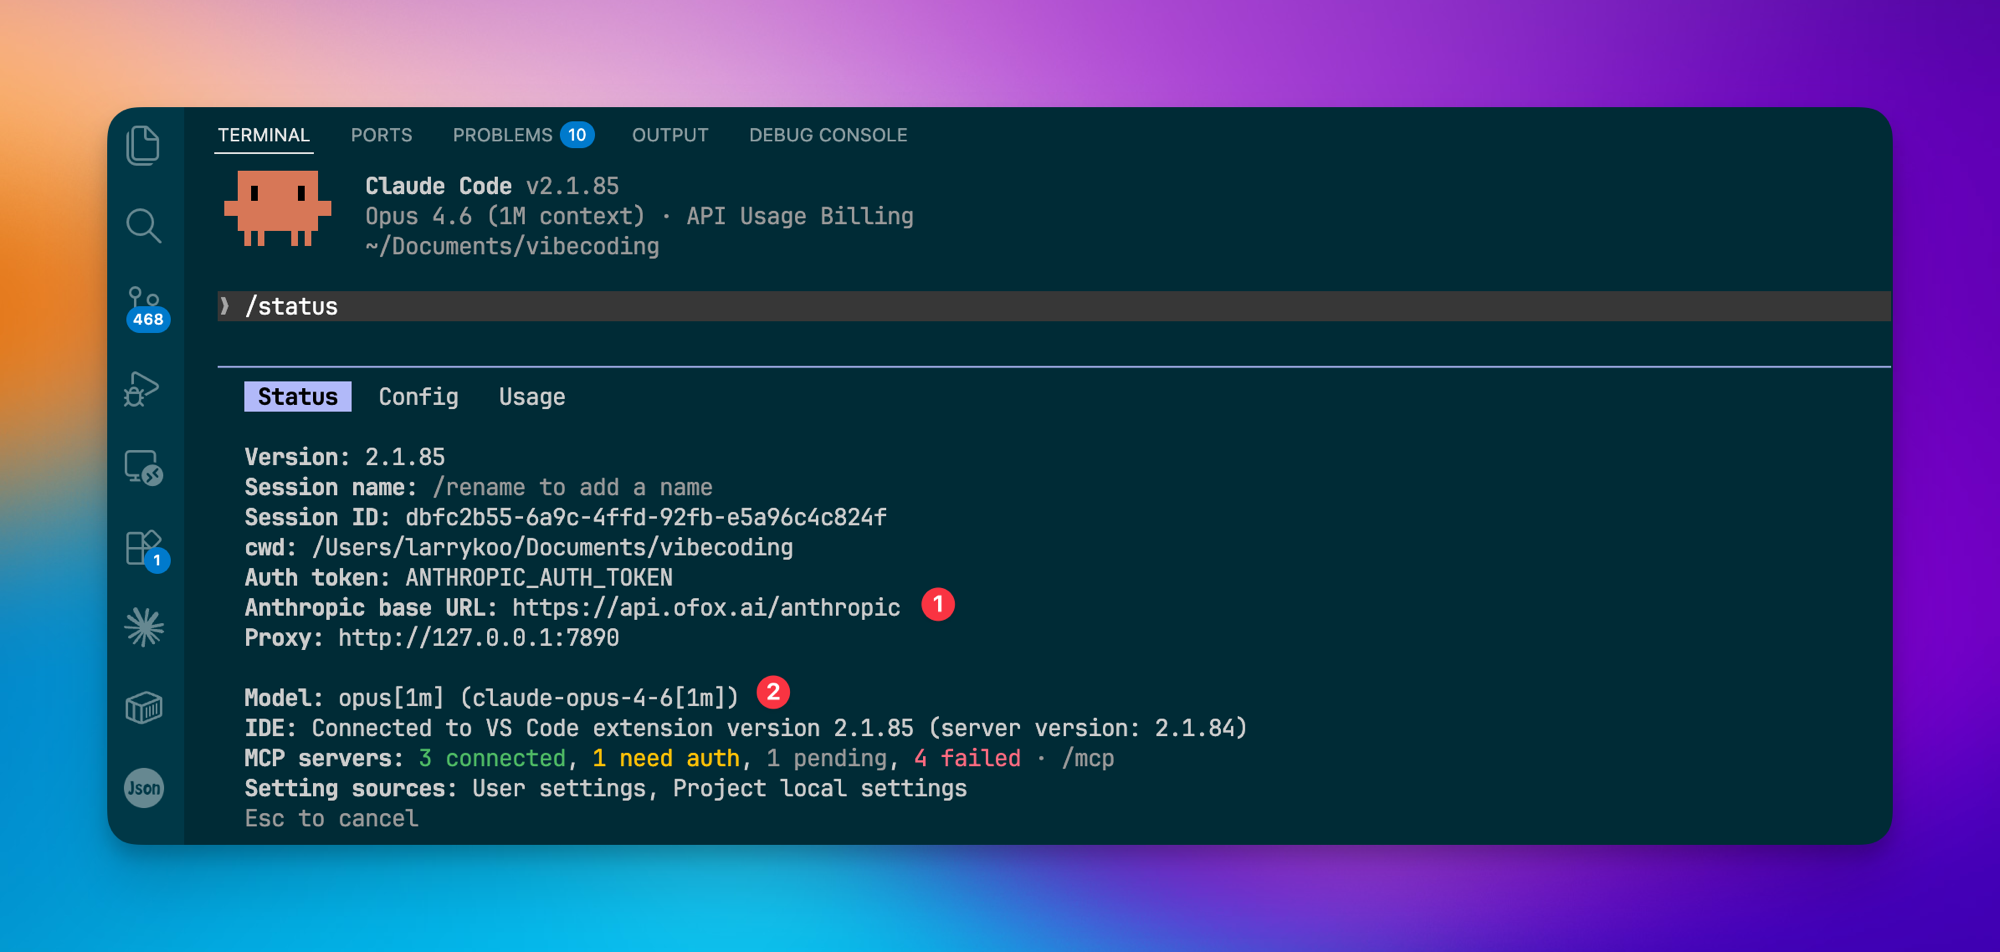
claudeOn first launch, press Esc to skip login. After startup, check the top info bar and confirm it shows API Usage Billing, indicating billing through OfoxAI.
If you encounter issues, run /status in the Claude Code terminal to check the configuration. Verify that:
- Anthropic base URL is
https://api.ofox.ai/anthropic - Model shows the currently active model
Choosing a Model
Claude Code supports model switching via the /model command during a session.
| Model | Best For |
|---|---|
claude-sonnet-4.6 | Daily coding, code review, quick Q&A — fast responses, cost-efficient |
claude-opus-4.6 | Complex architecture, cross-file refactoring, deep analysis — strongest reasoning, supports extended thinking |
For most development work, Sonnet handles the job well. Switch to Opus when you need deep multi-step reasoning.
Step 4: Configure Skills
Skills are capability extension packs for Claude Code. They equip Claude with specialized domain knowledge, workflows, and toolchains.
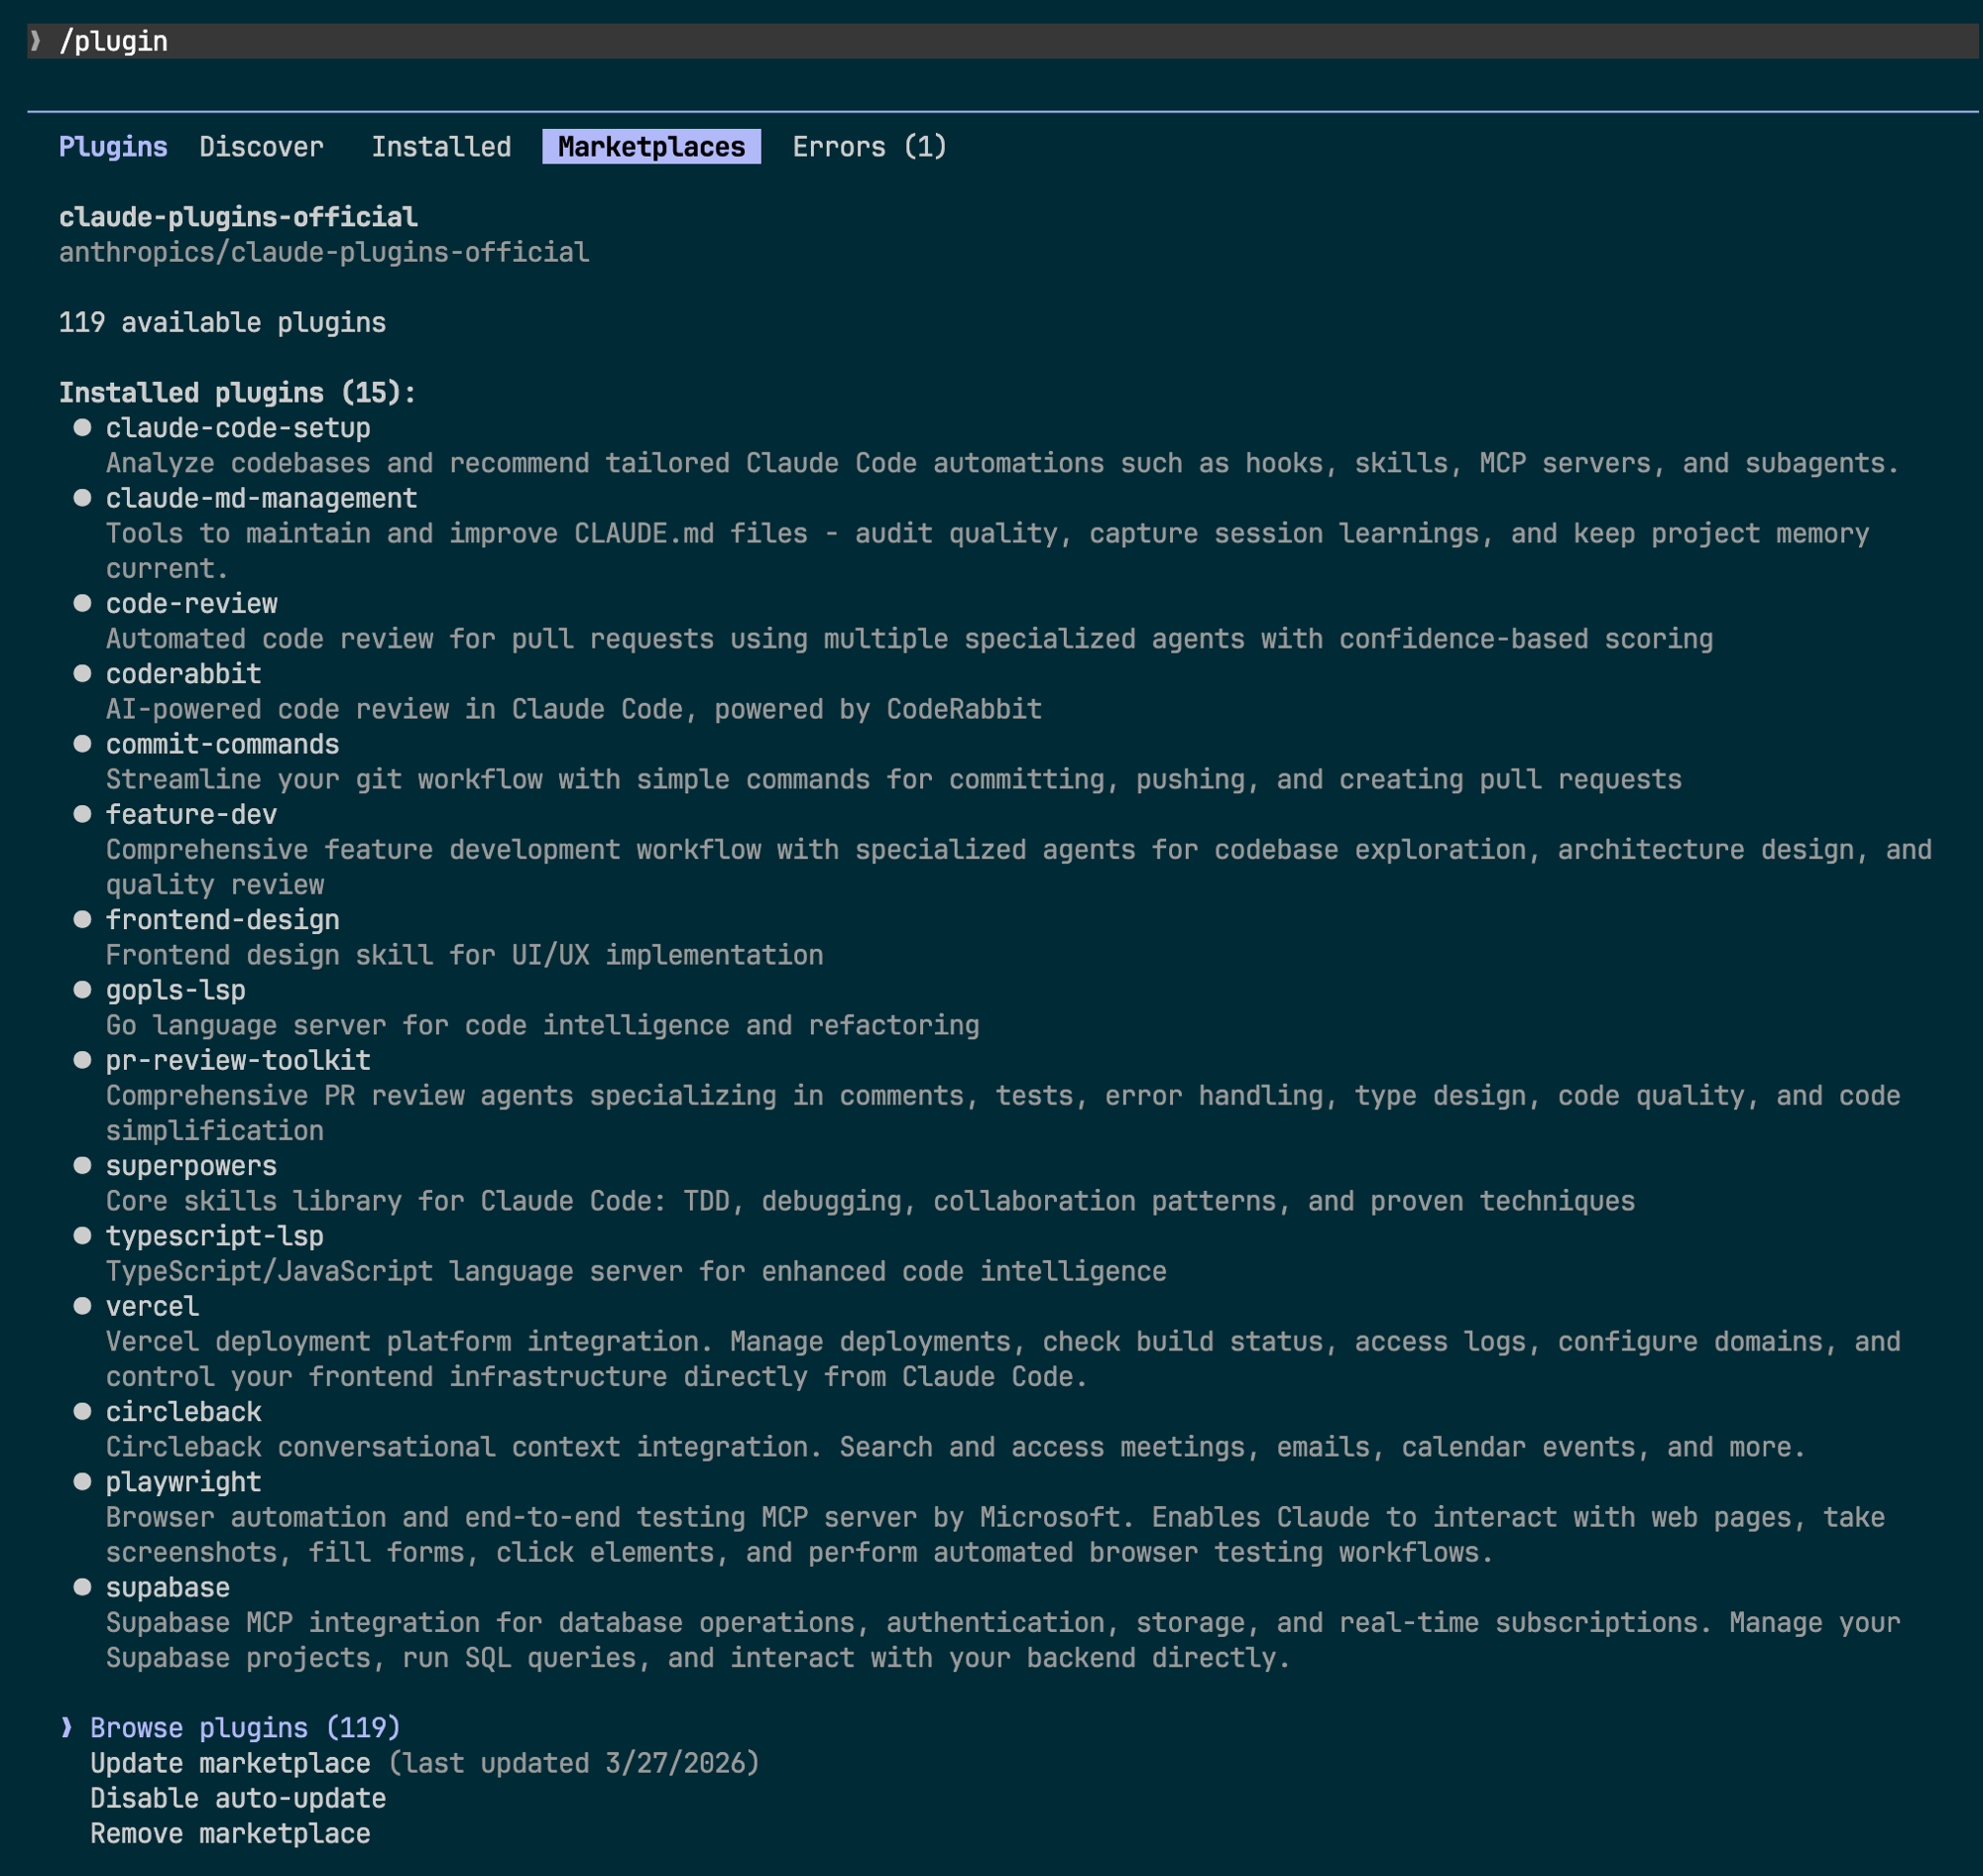
Install via /plugin (Recommended)
Type /plugin in Claude Code to enter the plugin management interface. The built-in Marketplace sources from the Anthropic official Skills repository, allowing you to browse, install, and manage directly.
Install via CLI
claude install <skill-name>Third-Party Skills Platforms
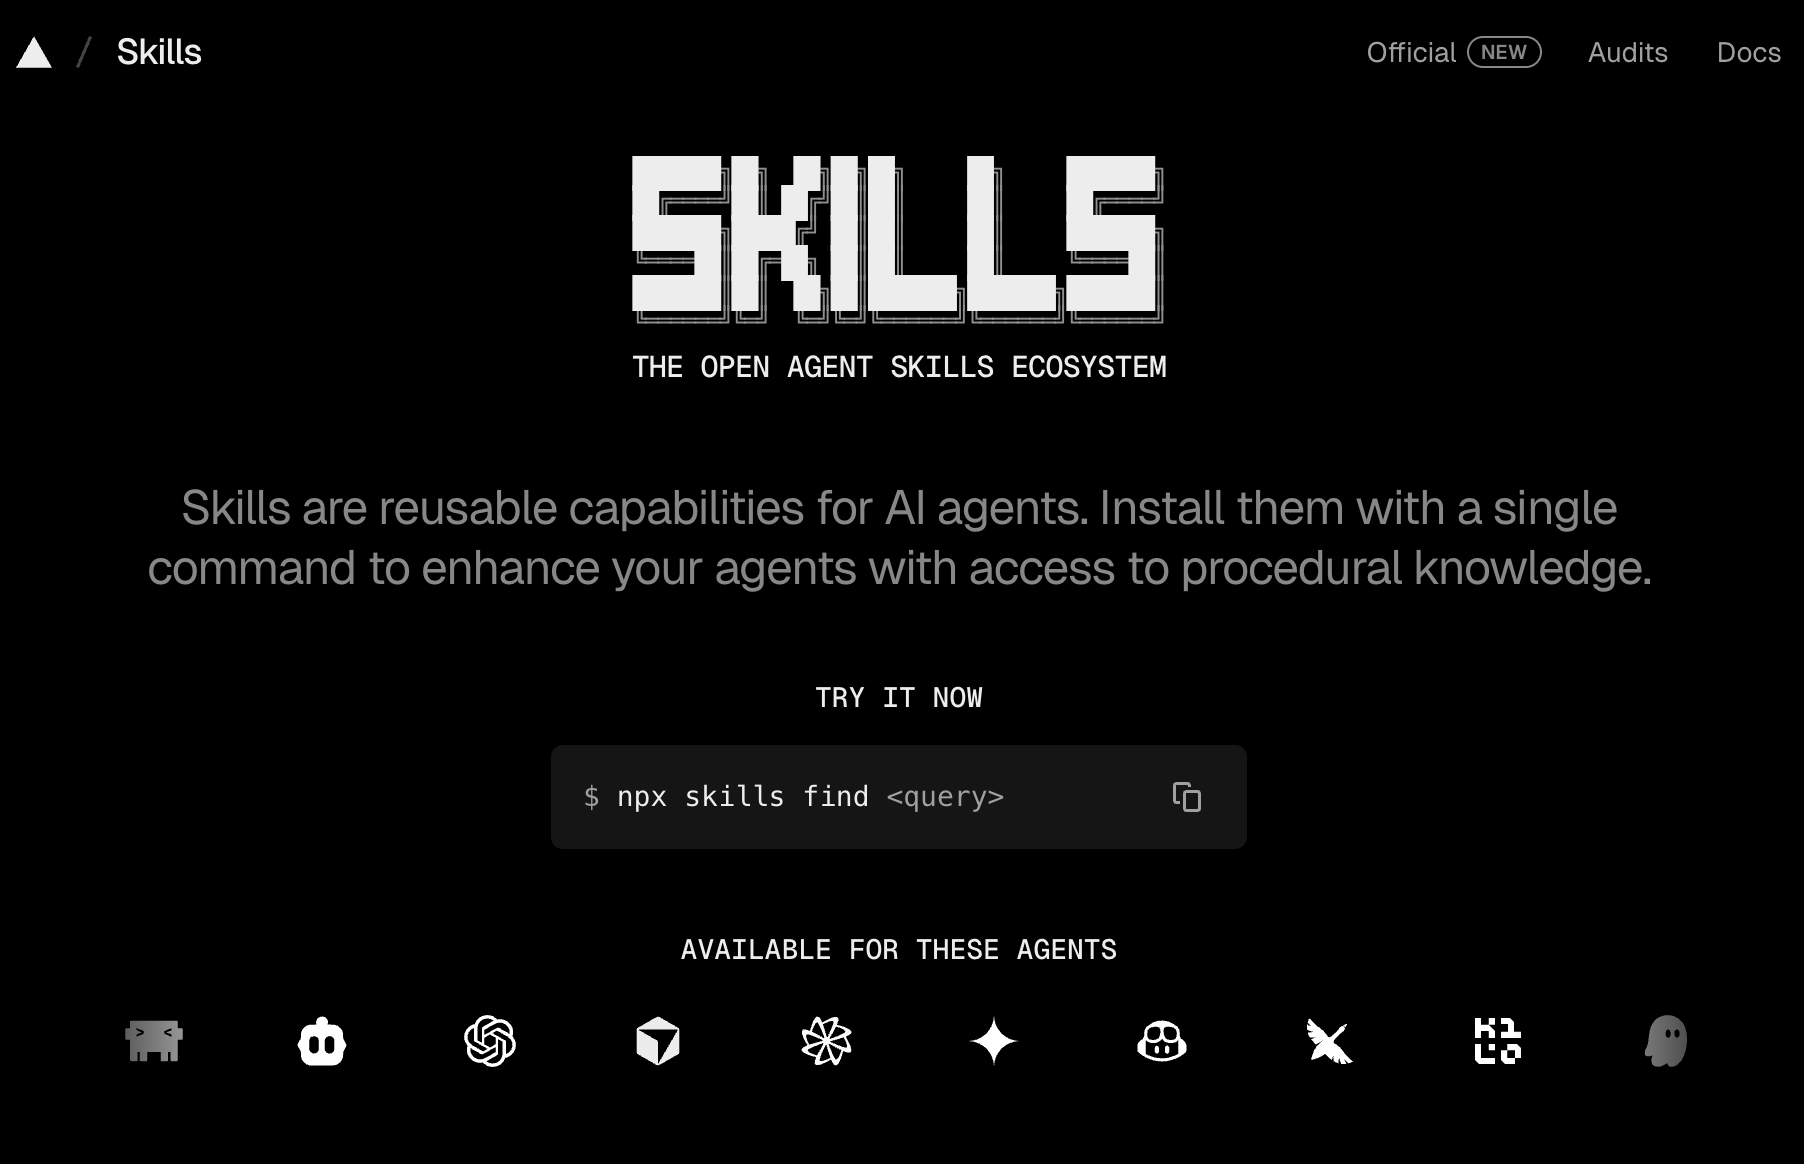
- Skills.sh — An open Agent Skills ecosystem. Search and install with
npx skills find <query>.
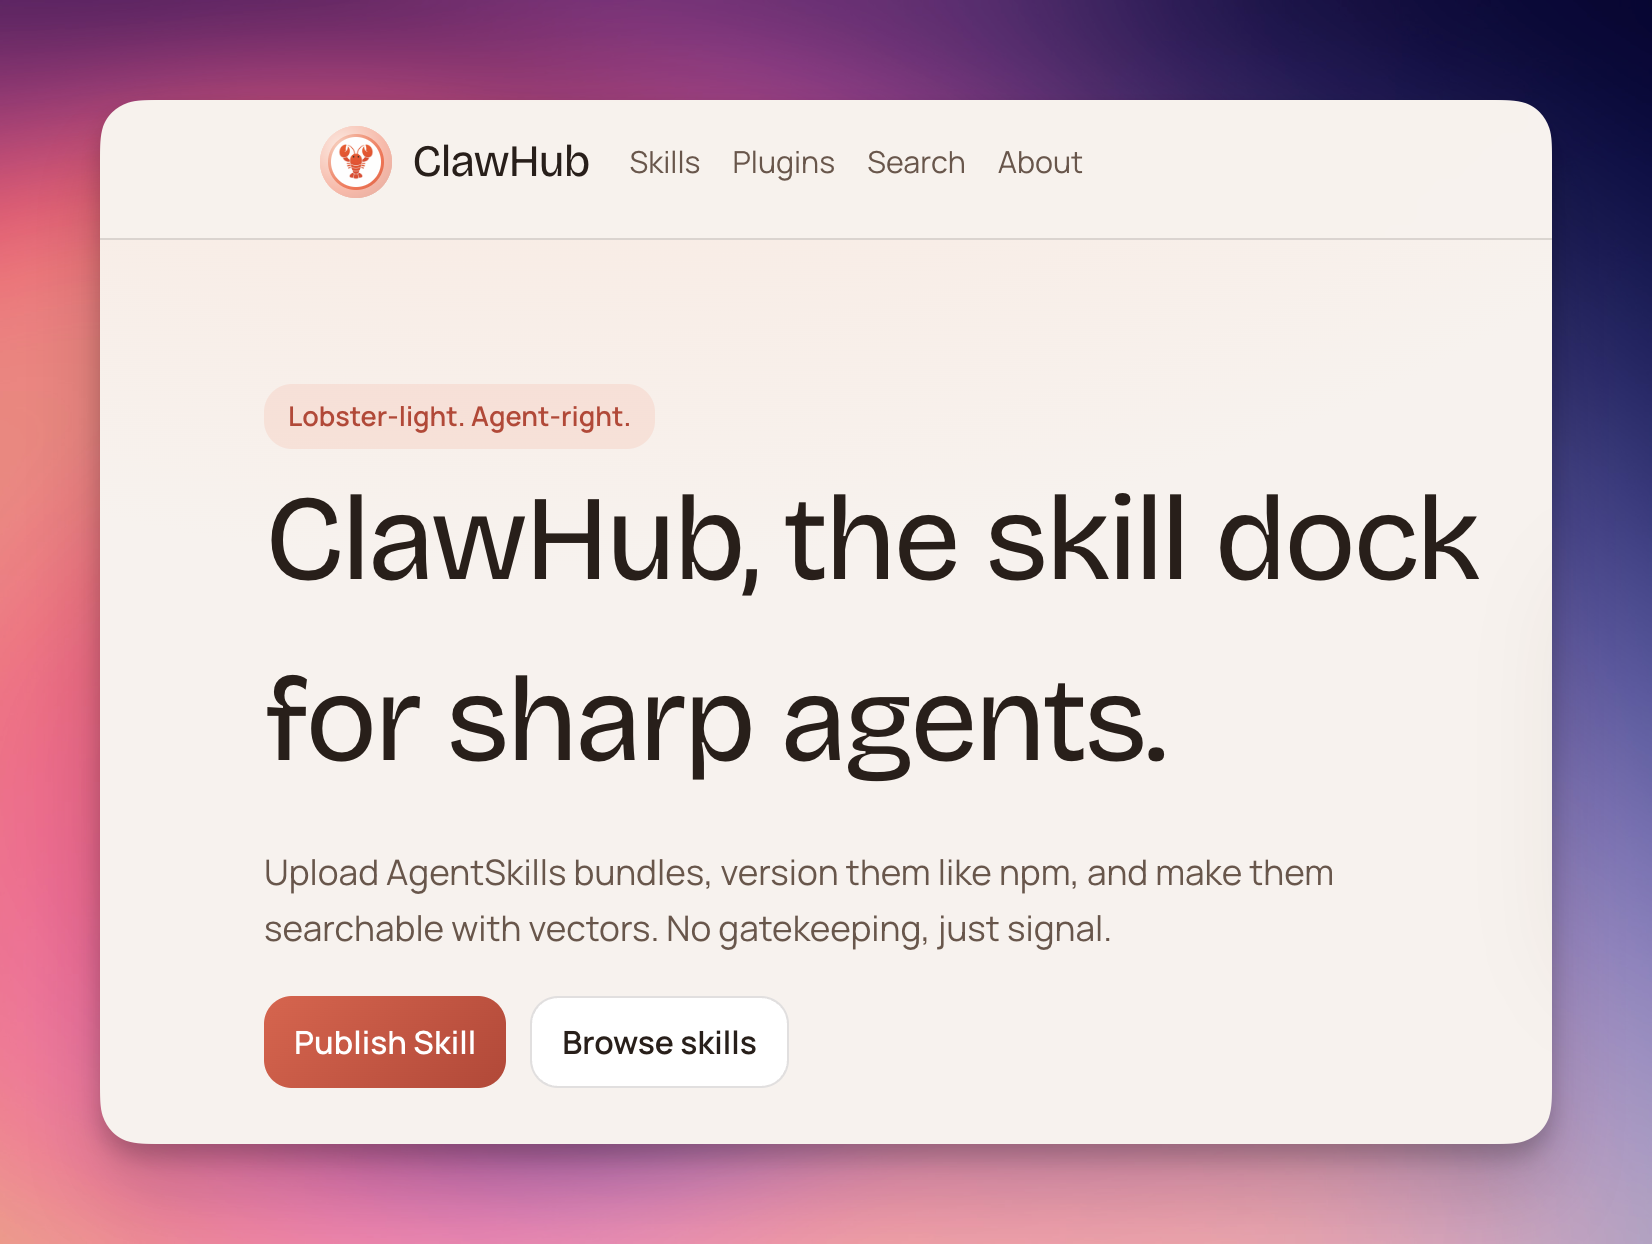
- ClawHub — A community-driven Skills publishing platform with version management and semantic search.
Project-Level Skills: CLAUDE.md
Create a CLAUDE.md file in your project root. Claude Code automatically loads it on startup as project-level context and conventions:
# Project Conventions

## Tech Stack
- Next.js 16 + TypeScript
- Tailwind CSS v4
- pnpm as package manager

## Coding Conventions
- Use PascalCase for component names
- Prefer Server Components
- Maintain at least 80% test coverage
CLAUDE.md is the most common way to configure project-level Skills — no installation needed, just place it in the project root.
Step 5: CCometixLine Status Bar (Optional)
CCometixLine is a status bar enhancement that displays Git branch status, current model, and context window usage in real time.
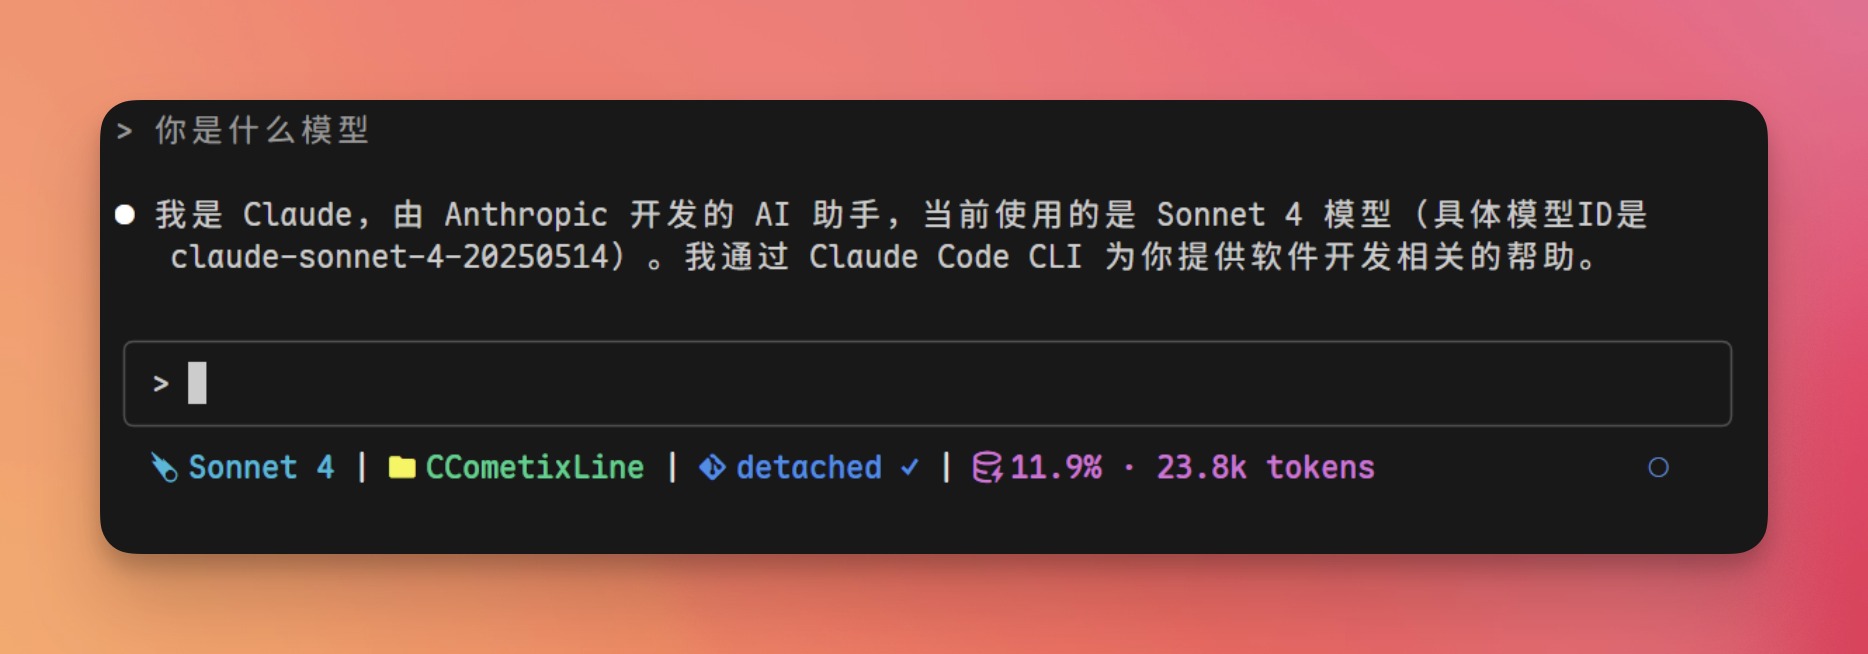
Key features:
- Git Status — Branch name, clean/dirty/conflict state, remote tracking info
- Model Display — Simplified model name (e.g.,
Sonnet 4instead of the full identifier) - Context Usage — Real-time token consumption percentage
- Theme System — Multiple built-in themes (cometix, minimal, gruvbox, nord, powerline-dark) with custom theme support
A Nerd Font must be installed in your terminal for icons to display correctly.
Install via Claude Code (Recommended)
Send the following message in the Claude Code chat:
Install this for me: https://github.com/Haleclipse/CCometixLine
and configure it in Claude Code global settings to enable it
Claude Code will automatically clone the repository, build/install CCometixLine, and write the status bar configuration to ~/.claude/settings.json.
Manual Installation
npm install -g cclineAdd the following to ~/.claude/settings.json:
{
  "env": {
    "CLAUDE_CODE_STATUSLINE": "ccline"
  }
}
Restart Claude Code for changes to take effect.
Customization
Run ccline config to open the interactive TUI configuration panel, where you can preview and adjust layout, themes, and Git display options.
Troubleshooting
Authentication error
Confirm the Anthropic base URL is https://api.ofox.ai/anthropic (check with /status) and verify that the API Key is valid at app.ofox.ai.
Connection timeout
Verify the request URL is https://api.ofox.ai/anthropic with no trailing slash.
Streaming response lag
OfoxAI has built-in global acceleration. This is usually a local network issue — check your local connection and retry.
Update Claude Code
# Native install auto-updates; for other methods:
brew upgrade claude-code          # Homebrew
winget upgrade Anthropic.ClaudeCode  # WinGet
Summary
Claude Code configured with OfoxAI gives you Anthropic’s full CLI coding experience with production-grade infrastructure: 200 RPM rate quota, 99.9% SLA, and complete protocol compatibility. The setup uses CC Switch for a visual, no-file-editing experience.
Key values to remember:
- Request URL:
https://api.ofox.ai/anthropic - API Key: Your OfoxAI key from app.ofox.ai
For the full integration reference, see the OfoxAI Claude Code documentation.