Turn a landscape photo into a portrait layout: crop, pad or regenerate
Choose between cropping, adding space and AI reference-based generation for a portrait layout, with a worked sizing example and checks for subject distortion.
 Ofox
Ofox 
A landscape photo fits a portrait layout in three different ways: crop its sides, place it on a taller canvas, or generate a new composition from a reference. Choose based on what you can afford to lose or change. Stretching the image vertically distorts the subject.
If you need the original image content intact, start with padding in an editor. If a new interpretation is acceptable, try reference-based generation in the Ofox image tool. The interface was checked on September 20, 2026; the prompt here is an example, not a tested output.
Work out how much the crop removes
Suppose your source is 1600 × 900 and your chosen canvas is 1080 × 1920. These are an arithmetic example, not a platform requirement.
To fill the canvas without stretching, scale by 1920/900. The source becomes about 3413 × 1920, so only about 32% of its width remains visible. A centered subject may fit; a group or wide product arrangement probably will not.
To keep the whole photo, scale by 1080/1600. It becomes 1080 × 607.5 before pixel rounding, leaving about 1313 vertical pixels to fill on the canvas. You can use a solid background or a blurred duplicate behind it in your editor.
| Method | What changes | Choose it when |
|---|---|---|
| Crop to fill | Content outside the crop disappears | The important subject fits inside the frame |
| Fit on a taller canvas | Extra space surrounds the photo | The source content must stay visible |
| Reference-based generation | Even the original subject may change | You can inspect and accept a new interpretation |
Try an ordinary edit first
Create the target canvas in your editor, keep the photo’s aspect ratio locked and place it inside. Check faces, hands, handles and other details near the crop boundary. Leave room for whatever controls or captions the destination displays.
A solid or blurred background is an editing choice, not an Ofox feature demonstrated here. Keep the original file separate from the exported layout.
Ask for a portrait composition in Ofox
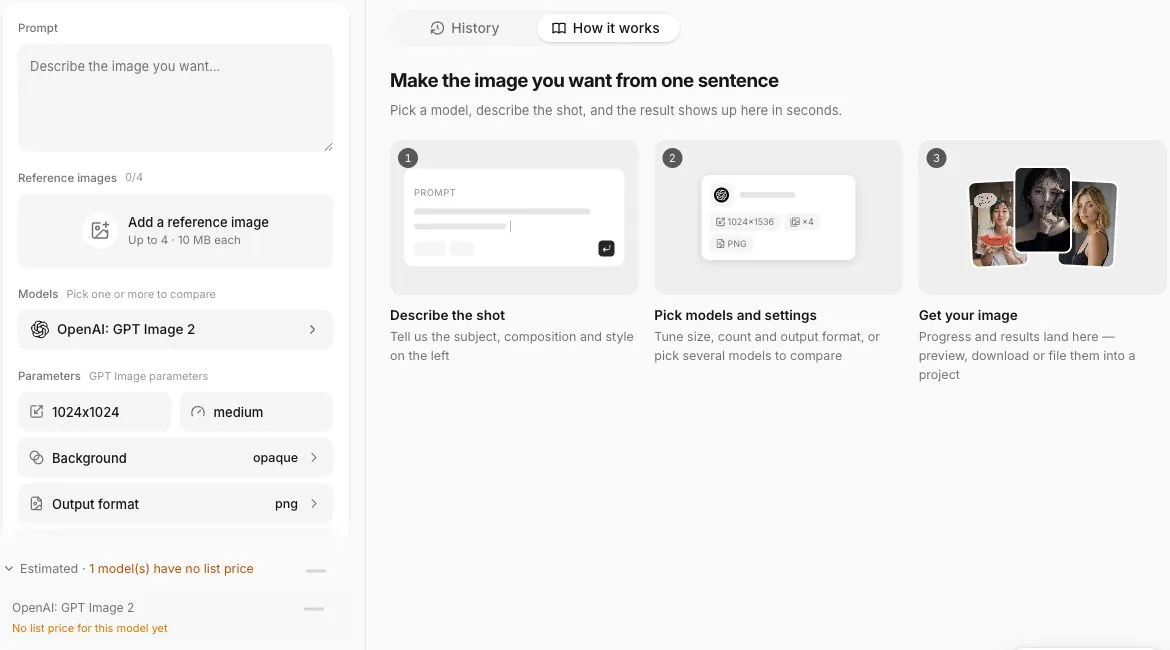
Add the photo as a reference, choose one model and inspect the sizes it actually offers. Pick a supported portrait size; not every model accepts 9:16 or arbitrary pixel dimensions.
Use the attached photo as a reference for a portrait composition. Keep the entire central product in frame and leave more background above and below it. Do not stretch the product or introduce new objects or text.
This is reference-based regeneration. It is not a verified workflow for locking all original pixels and generating only outside their boundaries. A dedicated outpainting tool with a mask or expanded canvas is a different capability.
Check the downloaded file
Compare the subject with the source, including lettering and thin parts. Inspect background lines and new details. Then check the actual downloaded dimensions; a portrait preview alone does not prove the desired size was exported.
If the output needs a final crop or padding, do that in your editor and save both the generated file and final layout. For product-specific inspection, use the background replacement checklist. Adobe’s documentation on Generative Expand describes a dedicated expansion workflow; it does not establish equivalent functionality in Ofox.
Frequently Asked Questions
- Can I stretch a landscape image vertically?
- You can, but it changes the proportions of people and objects. Crop or pad instead when proportions matter.
- Does reference-image generation preserve the original pixels?
- Do not assume so. This guide has not verified a mask-based outpainting workflow in Ofox.