Turn fashion photos into video in Ofox: check garment details before publishing
Prepare clothing references, write restrained motion prompts in Ofox, and inspect cut, fabric, print and logos before using AI fashion video in an ad.
 Ofox
Ofox 
To turn a fashion photo into an AI video, begin with a clear garment reference and ask for one small movement. In Ofox Video, choose Image, upload the reference, select an available model such as Seedance 2.5 and check the supported settings before generating. Review the clothing throughout the clip before it becomes an ad.
The important question is whether viewers are still seeing the same garment. A dramatic camera move is of little use if it changes the collar, buttons or print. This tutorial shows how to prepare a reference set and define a repeatable inspection process.
Example scope: Ofox’s interface was checked on September 21, 2026. The green-jacket images are separately generated, fictional practice artwork, not photographs of an actual SKU or Ofox video results. The board and standalone input are different exercises; do not treat them as an exact match.
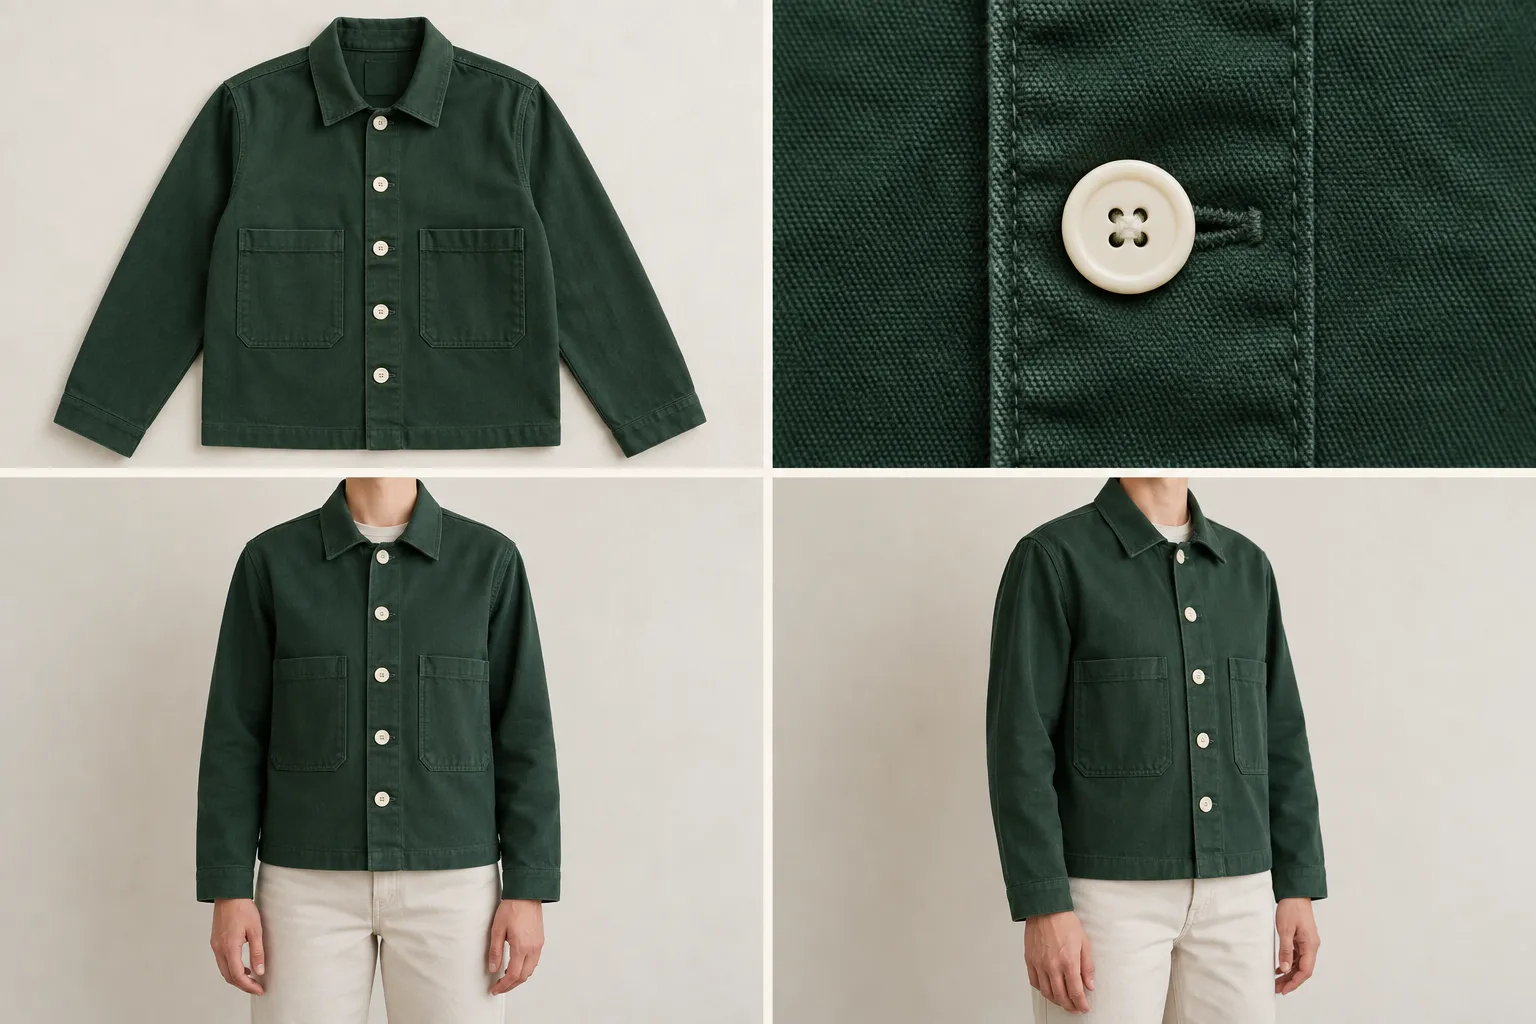 Reference-planning illustration. A real garment needs its own source photographs; synthetic examples cannot establish its actual fit or construction.
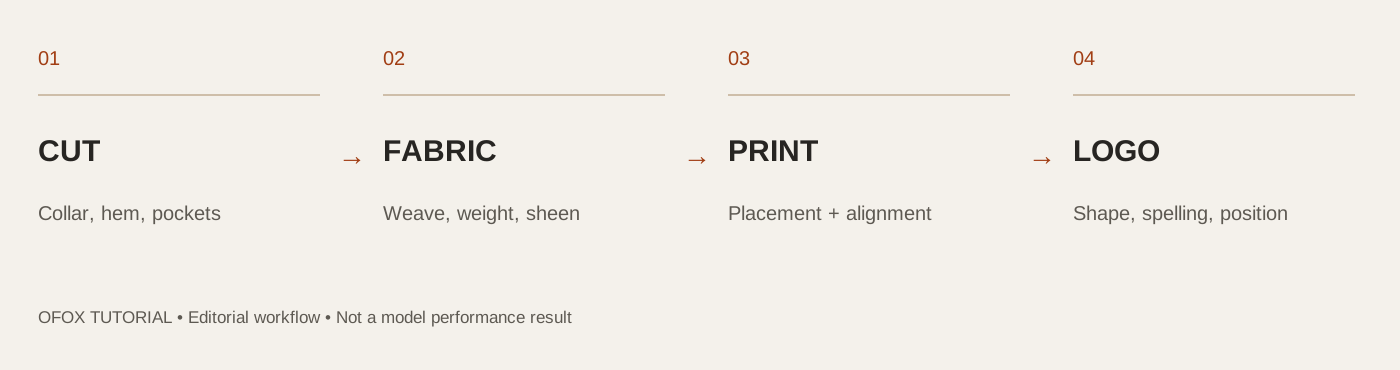 Editorial checklist for this guide; not measured model performance.
1. Make a garment identity sheet
Before uploading, record the features the video must preserve. Start with the front outline, collar, hem, closures and pockets. Add fabric texture, pattern placement and any real logo. When a feature is not visible in the source, mark it unknown rather than letting an attractive generated view become the source of truth.
| Check | What to record | Example reason to reject |
|---|---|---|
| Cut | Collar shape, sleeve width, hem, pocket positions | A straight hem becomes curved |
| Fabric | Visible weave, weight and sheen | Cotton appears shiny or rubbery |
| Pattern position, repeat and alignment | Stripes stretch or graphics drift | |
| Logo | Actual spelling, shape and position | Letters change or a new mark appears |
The four checks are a practical review structure for this tutorial, not an industry certification. Download the garment review sheet and add the features that matter to your product.
2. Choose a source that gives motion room
A useful starting image shows the whole garment, leaves space around the sleeves and hem, and keeps hands away from critical details. A heavily cropped photo can force the generator to invent the missing garment edges. Complicated crossed arms can hide exactly the area you need to preserve.
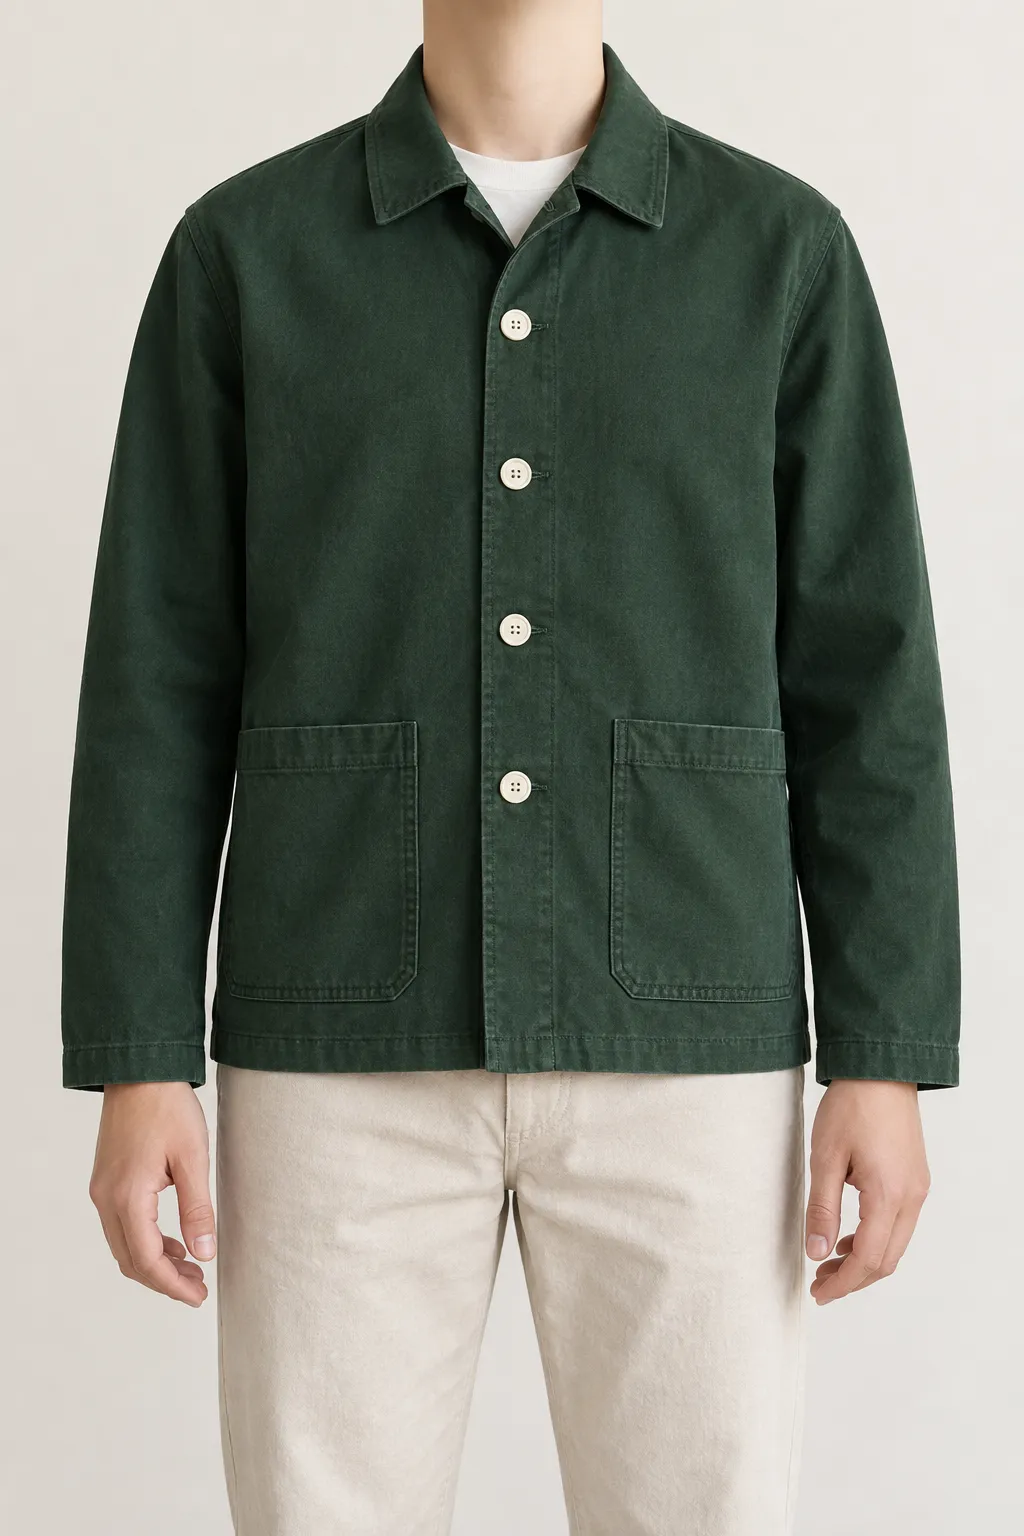 Standalone practice input: four cream buttons are visible, with two lower patch pockets. Inspect what the image actually contains instead of trusting the prompt that created it.
For a commercial SKU, use your own authorized model or mannequin photography. A flat lay is useful for construction, but converting it into a worn view introduces assumptions about fit and drape. Label exploratory styling separately and do not substitute it for factual fit photography.
If a background needs cleaning, use Ofox Image with an appropriate image-editing model and keep the change narrow. Compare the edited still with the original before it becomes a video reference. A mistake at this stage is likely to carry into every later clip.
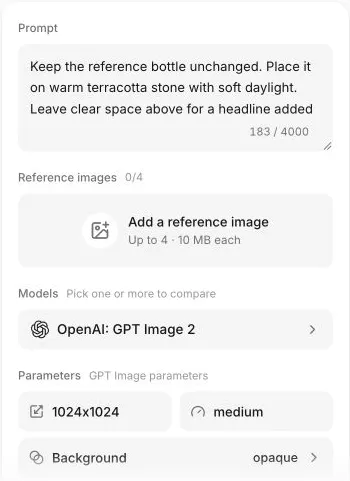 This screenshot illustrates the image tool’s layout. Its example prompt is for a bottle; replace it with garment-specific instructions rather than copying it unchanged.
3. Set up the clothing shot in Ofox
Open Video → Image and add your approved single reference. Select one model first. The checked interface showed Seedance 2.5 alongside other available video families; the list is a snapshot, so use the options in your own account.
Choose a supported duration and aspect ratio. Match the source framing where possible, and leave space for the modest movement you intend. Review resolution and audio settings, including the estimate or any compatibility warning. Do not infer that a setting is accepted by every model merely because the control appears on the page.
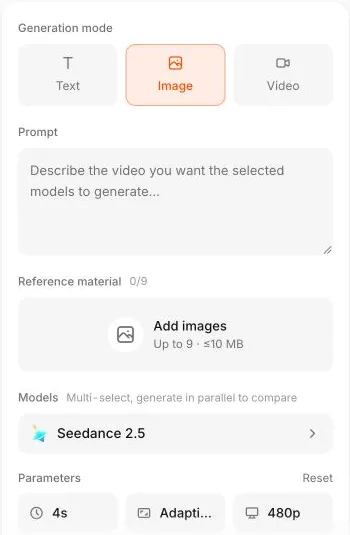 Actual English UI. This is setup evidence, not proof of a paid generation or clothing-preservation success rate.
4. Give the model one restrained movement
Use the standalone practice reference above, or replace its details with those of your real garment:
A single continuous fashion shot using the reference image.
The person shifts their weight slightly and turns their torso only a
little. Keep both hands relaxed away from the jacket. Camera stays fixed.
Preserve the green fabric, collar, four visible cream buttons, two lower
patch pockets and straight hem. Keep the complete jacket in frame.
No walking, spinning, cuts, new accessories, lettering or logos.
This is a starting prompt, not a guarantee. Reducing motion narrows the areas you need to inspect. It does not eliminate deformation, nor does it prove how the real garment moves on a person.
For a second trial, change only the motion: keep the person still and request a small camera push. Compare the two approaches against the same garment checks. Avoid changing model, reference, lighting and motion together, because you will not know which change helped.
5. Inspect the transition, not just the attractive pose
Play the entire clip. Then pause near the start, middle and end, and at the moment of greatest movement. Track one detail at a time: first the silhouette, then buttons and pockets, then texture, print and logo. This is more reliable than deciding whether the whole clip simply “looks good.”
A pocket may shift during a turn and return to the right position in the last frame. A logo can become unreadable only for a brief moment. Both can make a commercial asset unusable even when your selected thumbnail looks correct.
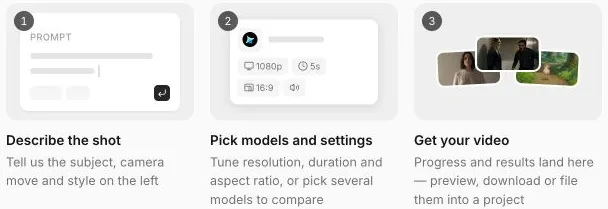 After generation, use the preview to review motion and download the original for closer inspection in your editor.
| If you see… | First adjustment |
|---|---|
| Hem or sleeve changing shape | Reduce torso rotation; try a fixed pose |
| Buttons merging | Use a sharper reference and less movement |
| Hands obscuring the product | Keep hands away from the front |
| Fabric shimmering | Simplify lighting and motion; inspect at normal speed |
| Print or logo changing | Reject the clip; use a safer shot or real footage |
Do not paint a new logo over a visibly deformed garment and call the problem solved. A correction must preserve the actual product and make sense throughout the motion.
6. Build the ad after the garment passes
Once you have an accepted shot, trim it in your editor and add accurate product copy as editable text. Match color against the real product reference; do not correct a green garment into a fashionable but unavailable shade. Keep the original, the generated clip and the final export as separate files.
Ofox’s model selector also offers multiple-model comparison. Use it only after confirming a supported configuration for each selected model. For a fuller comparison method, see test video models with the same brief. A result that fails garment identity should not win because it has more dramatic movement.
Frequently Asked Questions
- Can a single photograph guarantee the same clothes in every frame?
- No. A reference guides generation, but garment details can still change. Review the whole clip and reject misleading changes.
- Should I start with a spin or a walking shot?
- Start with a small movement that keeps important details visible. More complex movement can be explored after a simpler shot passes your review, not assumed to work from the outset.
- Can I use these synthetic references as evidence of a real product's fit?
- No. They are practice assets. Fit, texture and construction claims need accurate material from the actual product.