Get GPT Image 2.5 API access and generate your first image
Choose OpenAI or Ofox API access, create a key, use the correct model ID, and follow Python examples for image generation and reference-image editing.
 Ofox
Ofox 
GPT Image 2.5 is an image-generation and editing family with two models, Flare and Sunburst. You can start from a text description or edit a reference image. For a first evaluation, choose one task: generate a product image, render exact lettering, or change a background while preserving the subject.
To use GPT Image 2.5 through OpenAI’s Images API, choose gpt-image-2.5-flare or gpt-image-2.5-sunburst, then call client.images.generate() or client.images.edit(). The returned image data can be decoded from data[0].b64_json and saved locally.
GPT Image 2.5 is now available on Ofox: see Flare and Sunburst for current pricing and API examples.
The direct OpenAI examples below follow OpenAI’s image generation guide, checked September 9, 2026. They have been checked against the documentation, not run through paid inference. The Ofox access section separately identifies its documented generation route; support for other operations must be checked with the chosen provider.
Start with the result you need
| Your task | What to check | Next step |
|---|---|---|
| Generate the first image | The saved file opens, the subject is complete, and no extra objects appear | Follow the Python generation example below |
| Edit a product photo | Label text, shape and crop remain intact | Follow the reference-image editing example below |
| Choose Flare or Sunburst | Compare the same task and explicit settings | Model comparison |
| Estimate a batch budget | Use returned usage and the number of acceptable results | Pricing and budget worksheet |
The examples below use API access. A ChatGPT subscription and an API account are separate; check access, billing and the supported operation with the provider you choose.
A real first output from Ofox
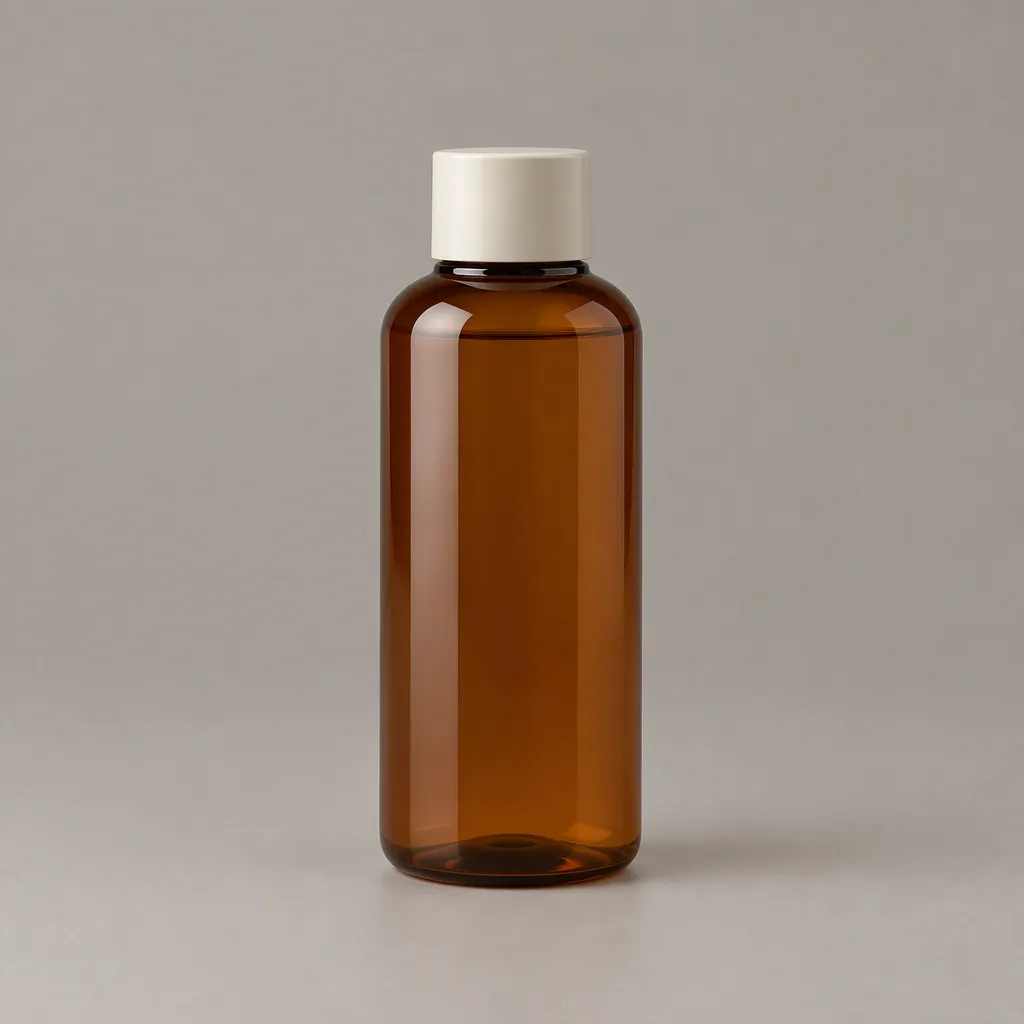
This Flare output came from our September 13 product prompt at 1024x1024, quality="medium", n=1 through https://api.ofox.ai/v1/images/generations. The client received the response in 19.519 seconds, and the matching Ofox request record charged $0.013460. Usage was 58 text input tokens and 439 image output tokens. This is one measured request, not a latency or price guarantee.
The saved original is 1024 × 1024 PNG. We also tested Sunburst generation and both models’ reference editing through Ofox; see the six outputs, exact prompts and editing caveats. The direct OpenAI code below remains documentation-checked, not executed by this Ofox test.
Get API access before running the examples
Choose the provider first: its API key, base URL and model ID must belong together. A ChatGPT login is not a substitute for an API credential, and an Ofox key does not authenticate to OpenAI’s direct endpoint.
| Connection | OpenAI direct | Ofox |
|---|---|---|
| Credential | An OpenAI project API key | An Ofox API key |
| Python client | OpenAI() with OPENAI_API_KEY | OpenAI(base_url="https://api.ofox.io/v1", api_key=os.environ["OFOX_API_KEY"]) |
| Flare model ID | gpt-image-2.5-flare | openai/gpt-image-2.5-flare |
| Sunburst model ID | gpt-image-2.5-sunburst | openai/gpt-image-2.5-sunburst |
For OpenAI direct, follow the official API quickstart to create a key and check your project’s billing and model access. The generation and editing examples in the later sections use that connection.
For Ofox, follow these steps:
- Compare Flare and Sunburst, including the current price and API example.
- Create an Ofox account, or sign in if you have one. Open API Keys and create a key. The authentication documentation says the key is shown once; save it securely.
- Check your balance and applicable charges in the console before testing. Registration alone does not establish free credits or permission to call every model. Use the budget worksheet to plan a small evaluation.
- Set
OFOX_API_KEYin your local environment or secret manager, then run one generation request before attempting a batch.
Install the Python SDK with python -m pip install --upgrade openai. This example follows the Ofox Flare model page’s generation route. It handles either base64 image data or a returned download URL, without assuming that every provider returns the same representation:
import base64
import os
from pathlib import Path
from openai import OpenAI

client = OpenAI(
    base_url="https://api.ofox.io/v1",
    api_key=os.environ["OFOX_API_KEY"],
)
result = client.images.generate(
    model="openai/gpt-image-2.5-flare",
    prompt="A ceramic tea cup on a plain warm gray background, no text.",
    size="1024x1024",
)
if not result.data:
    raise RuntimeError("The API returned no image data.")
item = result.data[0]
if item.b64_json:
    Path("generated-image.bin").write_bytes(base64.b64decode(item.b64_json))
    print("Saved generated-image.bin; inspect its format before renaming.")
elif item.url:
    print("Download the original image from:", item.url)
else:
    raise RuntimeError("No base64 image or download URL in the response.")
print("Usage:", result.usage)
The example deliberately does not force an output format or advanced option that the model-page example does not demonstrate. Inspect the original file, check usage and reconcile the charge in the console. The access instructions were checked against public documentation. The September 13 Ofox tests above additionally verify the stated generation and editing requests, not every advanced option. The editing example below targets OpenAI directly, so confirm Ofox’s current model-specific editing support before adapting it.
Once the first request succeeds, save the exact model ID and parameters alongside the output. For a product workflow, check label accuracy and background quality before treating the result as usable.
Choose the model before writing the request
| Model ID | Official positioning | A useful starting point |
|---|---|---|
gpt-image-2.5-flare | Fast, high-quality everyday image generation | Iterative drafts and latency-sensitive workflows |
gpt-image-2.5-sunburst | Detailed creative work and precise editing | Detailed final assets and demanding reference edits |
These are starting choices, not guarantees about your images. See Flare vs Sunburst for selection criteria. The family name alone is not a substitute for an exact model ID.
Generate an image with Python
Install a current SDK and provide an OpenAI API key through OPENAI_API_KEY. Keep credentials outside source files.
python -m pip install --upgrade openaiimport base64
from pathlib import Path
from openai import OpenAI
client = OpenAI()
result = client.images.generate(
model="gpt-image-2.5-flare",
prompt=(
"Create a clean product photograph of a ceramic tea cup on a "
"warm gray background. Soft natural light, no text or watermark."
),
size="1024x1024",
quality="medium",
output_format="png",
)
Path("tea-cup.png").write_bytes(
base64.b64decode(result.data[0].b64_json)
)
print(result.usage)This requests PNG output and saves those bytes as a PNG. Retain the response’s usage information when you evaluate costs; a successful image alone does not tell you how much the request consumed.
Edit a reference image
Use images.edit() with the input file. State what should change and what must remain intact. In this example, product.png is an existing local image.
import base64
from pathlib import Path
from openai import OpenAI

client = OpenAI()

with open("product.png", "rb") as reference:
    result = client.images.edit(
        model="gpt-image-2.5-sunburst",
        image=reference,
        prompt=(
            "Remove the background from this product photograph. "
            "Preserve the product shape, colors, and label text. "
            "Use a fully transparent background, with no checkerboard."
        ),
        size="1024x1024",
        quality="high",
        background="transparent",
        output_format="png",
    )

Path("product-cutout.png").write_bytes(
    base64.b64decode(result.data[0].b64_json)
)
Inspect the output at full resolution. Check labels, geometry, and alpha transparency rather than assuming the preservation instruction was followed perfectly. A checkerboard painted into the image is not transparency. OpenAI’s prompting guide supplies further examples of localized edits and product preservation.
Set size and quality deliberately
Both models support auto, low, medium, high, xhigh, and max quality. Start with an explicit setting when comparing requests; auto makes controlled comparisons harder.
Recommended sizes include 1024x1024, 1536x1024, and 1024x1536. Custom dimensions must satisfy all of these rules:
- Width and height are multiples of 16.
- Neither edge exceeds 3,840 pixels.
- The aspect ratio is between 1:3 and 3:1.
- Total pixels are between 655,360 and 8,294,400.
OpenAI marks resolutions above 2560x1440 as experimental. “4K support” does not mean any arbitrary 4K dimensions will be accepted or equally reliable.
Use PNG or WebP for transparent output. output_compression applies to JPEG and WebP, not PNG. Higher quality settings deserve comparison on your inputs; they are not a promise that every image will improve.
Responses API: the image model belongs inside the tool
The Images API selects the image model directly. Responses separates the language model from the image-generation tool:
response = client.responses.create(
    model="gpt-6-astra",
    input="Generate a product photo of a ceramic tea cup on a gray background.",
    tools=[{
        "type": "image_generation",
        "model": "gpt-image-2.5-sunburst",
        "output_format": "png",
    }],
)

for index, item in enumerate(response.output):
    if item.type == "image_generation_call":
        Path(f"response-image-{index}.png").write_bytes(
            base64.b64decode(item.result)
        )
This continues from the Python imports and client above. OpenAI uses this outer-model/tool-model pattern in its documentation. Responses requests can also include the language model’s token charges; consult the pricing guide before comparing them with direct Images requests.
Before connecting a production workflow
Verify model access for the account and provider you will actually use. An SDK update cannot grant account access, and an OpenAI example does not demonstrate that another provider has deployed the same route.
Record the model, prompt, quality, dimensions, returned usage, latency, and output file. For edits, add checks for text accuracy and unintended changes. If replacing an existing GPT Image 2 workflow, follow the migration checklist before moving all traffic.
Troubleshoot model and access errors
A model-not-found response needs more than a spelling check. Compare the service URL, exact model ID and account access together. The documented direct OpenAI IDs are gpt-image-2.5-flare and gpt-image-2.5-sunburst; a gateway may require a different qualified name.
| Failure stage | What to check | Next step |
|---|---|---|
| npm install or TypeScript compile | Actual SDK version and parameter types | Node SDK troubleshooting |
| API model/access error | Error body, endpoint, model ID, project access | Correct the mismatched field; save the request ID if it persists |
| Local or API size rejection | Dimension rules and provider restrictions | Supported dimensions and 4K |
| Successful PNG with an opaque background | Original file, requested format and alpha pixels | Verify real transparency |
| Dify still selects Image 2 | Image tool plugin and explicit Model parameter | Dify model selection |
For Responses API requests, keep the image model inside the image-generation tool definition. The outer model selects the language model. An access error, an unsupported endpoint and a stale SDK are different issues; do not claim that every 404 is repaired by changing the model name. The official error reference explains the API’s status categories.
Frequently Asked Questions
- What is the GPT Image 2.5 API model ID?
- For OpenAI directly, choose gpt-image-2.5-flare or gpt-image-2.5-sunburst. Use the exact provider-documented ID; do not assume the family name gpt-image-2.5 is a callable model ID.
- Can GPT Image 2.5 generate transparent PNG images?
- For OpenAI directly, yes. Set background to transparent and output_format to png or webp, then inspect the saved file's alpha channel. JPEG does not preserve transparency.
- Where do I select the image model in the Responses API?
- For the direct OpenAI Responses API, set the image model inside the image_generation tool definition. The outer model selects the language model orchestrating the request.