Prepare one product image in multiple sizes without distorting the product
Plan square, portrait and vertical product-image exports, choose between padding, cropping and AI expansion, and verify labels, dimensions and transparency.
 Ofox
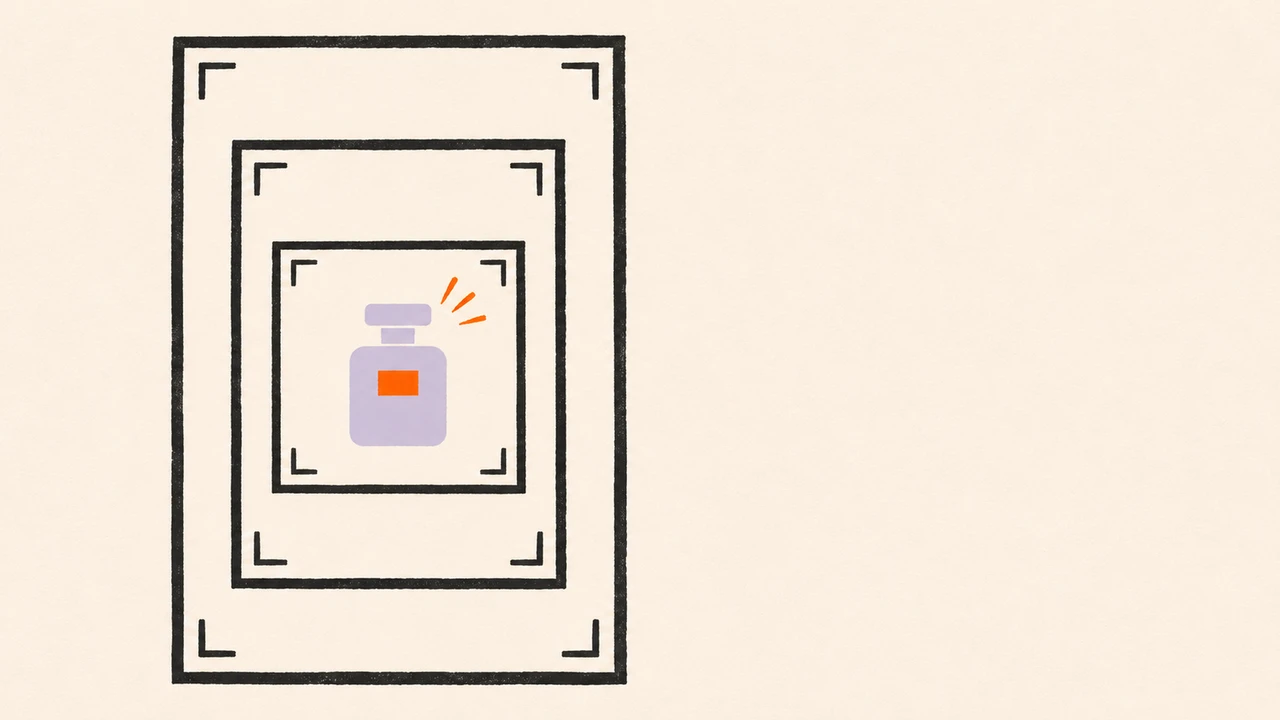
To adapt one product image to several sizes, keep the product’s proportions fixed and change the canvas, crop or surrounding scene. Do not stretch the entire image to fill each rectangle. Decide which outputs can use ordinary layout operations before asking an image model to invent anything.
This is a delivery workflow for a set of related assets. It differs from creating three new product scenes: the product identity and intended message stay the same, while each destination gets a separately checked composition. The sample specifications below are practice targets, not universal upload requirements for every marketplace or advertising platform.
Write the export specification first
Use explicit pixel dimensions instead of “square,” “portrait” and “story” alone. In this exercise, the three targets are:
| Output name | Width × height | Ratio | Intended exercise |
|---|---|---|---|
| product-square.png | 1080 × 1080 | 1:1 | A centered catalog-style composition |
| product-portrait.png | 1080 × 1350 | 4:5 | A taller composition with room above the product |
| product-vertical.png | 1080 × 1920 | 9:16 | A vertical layout with more surrounding space |
Before real delivery, read the destination’s current upload requirements for dimensions, file size, format, background and content placement. A 9:16 file is not automatically suitable for every vertical placement: interface overlays can cover text, and destinations can crop thumbnails differently.
Specify whether the result needs an opaque background or actual alpha transparency. These are different deliverables. An attractive cream-colored background is opaque, even if the preview sits on a checkerboard. Decide whether shadows are part of the product cutout or should be rebuilt on the new background.
Keep an immutable source and a separate product identity checklist
Start with the highest-quality source you are authorized to use. Retain it unchanged. Avoid using a downloaded thumbnail when the original exists, and do not remove another seller’s watermark to reuse their photo.
Record the details the output must preserve: bottle outline, cap shape, label wording, logo position, color, quantity and any required packaging marks. Choose a few exact strings to inspect, such as a product code or net weight. “Keep the product unchanged” is a useful prompt instruction but not an acceptance test by itself.
Use a crop or a separate reference image to make small details easier to inspect, while retaining the full original for composition. For an actual edit, refer to our mask and protected-region tutorial. A reference or mask can guide generation; neither proves every protected pixel survived.
If you already have an approved transparent cutout, ordinary layout may be the most controlled route. Place that cutout on each target canvas, scale it uniformly and position it deliberately. Generating the product again introduces a chance of altering details that did not need to change.
Choose padding, cropping or expansion per output
Padding preserves the complete source by adding surrounding space. Cropping fills the destination but removes part of the source. AI expansion invents additional background and can change nearby details. These are distinct operations, not three names for resizing.
For a separate arithmetic example, suppose the source is 1200 × 1200. To fit it inside the 1080 × 1920 vertical canvas without cropping, use the smaller scale factor:
scale = min(1080 / 1200, 1920 / 1200) = 0.9
resized source = 1080 × 1080
remaining height = 1920 - 1080 = 840 pixels
If centered, that leaves 420 pixels above and below. You can change the position, but you should not change the horizontal and vertical scale independently.
To cover that same canvas by cropping, the scale factor is the larger ratio, 1.6. The source becomes 1920 × 1920, so 840 pixels of width must be removed—420 on each side if centered. That is a substantial loss and may cut away a handle, label edge or secondary product. Check the product bounds before accepting the crop.
For a plain studio background, extending the background color may be enough. For a contextual scene, expansion can fill missing surroundings. If the tall placement makes the product too small, compose the layout differently rather than automatically stretching it. Our landscape-to-portrait tutorial covers the single-image decision; here, document the chosen operation for each asset in the set.
Separate the AI instruction from the final export instruction
When you need generated surroundings, ask for the composition and preserved details explicitly. Do not assume a model’s supported output dimensions equal your final delivery dimensions. Generate at an accepted size, then use a layout/export tool for the final exact pixel dimensions where necessary.
A complete request for one branch is:
Use the attached original product image as the source for a vertical layout.
Keep the exact product count, silhouette, cap, label wording, product code,
logo placement and color. Add only surrounding background space; do not
redesign or redraw the packaging intentionally. Leave clean space above it.
Do not add claims, badges, prices, extra products or decorative text.

The final delivery target is 1080 × 1920 PNG. If the image generation tool
cannot output those exact dimensions, tell me its actual output dimensions
and keep the generated file separate from the final export. Do not stretch
the product to force the ratio. List anything you could not preserve.
Submit each branch from the original or from a separately approved cutout, not automatically from the previous resized generation. Otherwise the square result’s altered label can become the portrait version’s new “source.” For repeated changes to the same artwork, see the revision guide, which distinguishes a continuing edit from rebuilding against the original.
In a task interface such as Ofox Chat, state whether you want a generated image, an ordinary canvas export or both. Require separate downloadable files and a manifest. The assistant’s ability to describe a layout does not prove the attached file has the requested dimensions.
Run the padding workflow in Ofox Chat
Our November 7, 2026 test used one 1024 × 1024 synthetic illustration containing three teal mugs, each labeled A-17. It is an author-owned test fixture, not a photograph of a real product or customer campaign. Download the complete source and output bundle to compare the files yourself.
- Start a new conversation in Ofox Chat and choose Add → Upload from computer.
- Attach
product-source.pngfrom the bundle. Keep the reference output files out of the request. - Send the specification below. It explicitly selects ordinary resizing and padding; it does not request an image-generation model.
- Download the returned ZIP and open the individual PNG files. Check their dimensions and the manifest before accepting the set.
Create three PNG exports from the attached source: 1080×1080, 1080×1350,
and 1080×1920. Use code-based uniform resizing and padding only.
Preserve the entire source, all text and all three mugs. Do not crop,
stretch, redraw or use paid image generation. Fit the full source within
each canvas, center it, and use the exact opaque background color from
the source top-left pixel. Uniform resampling is allowed.

Deliver all three PNGs, a contact sheet, and a JSON manifest recording
source SHA256, original and exported dimensions, resized dimensions,
placement offsets, background RGB and method. Include the original and
a reproducible Python export script in a ZIP. Check the actual files.
Explain the blank-space trade-off. Use English.
The real run returned the following results. The names differ from the planning table but encode the measured dimensions clearly.
| Actual file | Measured dimensions | Source placement | Background |
|---|---|---|---|
export_1080x1080.png | 1080 × 1080 | x=0, y=0 | Opaque RGB |
export_1080x1350.png | 1080 × 1350 | x=0, y=135 | Opaque RGB |
export_1080x1920.png | 1080 × 1920 | x=0, y=420 | Opaque RGB |
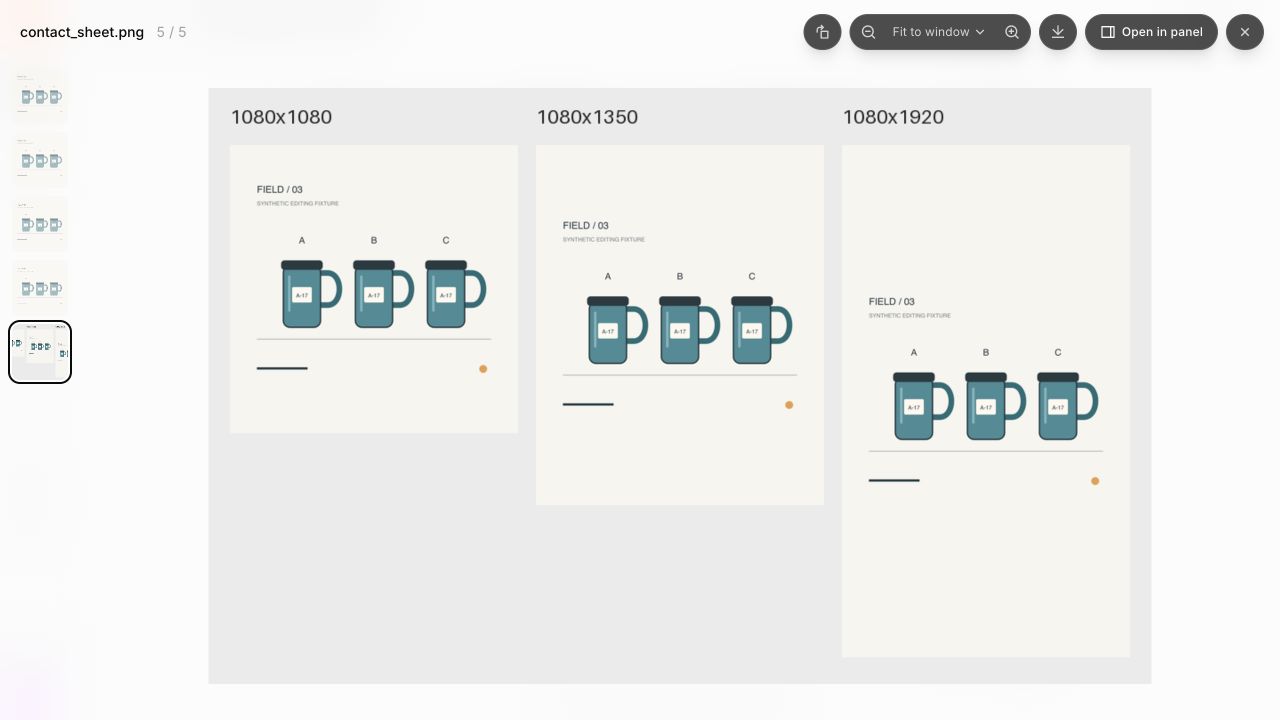
The original contact sheet is also included in the downloadable bundle.
We independently inspected the downloaded PNGs. All had the requested sizes and RGB mode. The 1080 × 1080 artwork region in every export matched a LANCZOS-resampled copy of the original; the added padding matched RGB (247, 245, 239). The source hash matched the manifest. This is stronger evidence for this deterministic operation than a prompt saying “unchanged,” but it is not evidence that an image-generation model can preserve every label during outpainting.
The tall result has substantial blank space. That is an intentional consequence of fitting the entire square artwork, not a failed export. If your placement needs the mugs larger, choose a new composition or approved cutouts and repeat the identity checks. Upscaling from 1024 to 1080 also does not recover new photographic detail.
For a local repeat, inspect the included export.py, install Pillow, then run it from the extracted bundle in a new output directory:
python -m pip install Pillow
python export.py product-source.png --output-dir exports-reviewed
The script writes ordinary PNGs and a manifest. It expects an opaque top-left pixel and flattens transparency onto that sampled background; do not use it for a transparent-background delivery. It can overwrite matching filenames in an existing output directory, so keep originals and accepted versions separate. Software versions can affect encoded bytes; compare dimensions and decoded pixels rather than assuming a ZIP hash will be identical across systems.
Verify each downloaded file independently
Check the real file type, width, height and ratio. Renaming a JPEG to .png does not make it a PNG. A preview can scale a wrong-size file to look correct, so use file properties or an image inspection tool instead of estimating pixels from the browser.
Then inspect the product at full size. Read the label, compare outline and cap, and look for generated seams near the protected area. Evaluate the three outputs together: a set can pass individually while using noticeably different product colors or label positions. Do not treat a pixel-difference count as a complete visual-quality score; a controlled uniform resize also changes pixels through resampling.
For transparency, inspect the alpha channel and test the image over both a light and a dark background. JPEG cannot preserve alpha. A PNG can have an alpha channel whose values are all fully opaque, so format alone is insufficient. Our transparent-background checks explain how to distinguish actual transparency from a painted checkerboard.
Track technical and visual status separately:
| Manifest field | Example of the information to record |
|---|---|
| source | The exact original filename and revision |
| operation | Uniform scale + padding, crop, or AI expansion + final export |
| requested_size / actual_size | Target dimensions and measured downloaded dimensions |
| transparency_required / observed | Opaque target or verified alpha behavior |
| label_check | Exact strings compared; pass, fail or unreadable |
| product_check | Shape, count, cap and color assessment |
| status | Accepted, needs correction or rejected |
These are fields for your own measured results, not an assertion that an untested image has passed. Keep “unreadable” as a possible status. A label that is too small to verify should not receive a green check by default.
Correct the cause instead of regenerating the entire set
If the file is the wrong pixel size but the composition is acceptable, correct the export. If the product is cut off, change the crop or use padding. If AI changed the packaging text, return to the original and constrain the edit to the background, or composite an approved cutout over the generated background using an editor.
For a hypothetical label failure after a generative edit, a focused correction request can be (this failure did not occur in the padding test):
The vertical file fails the label check: the source product code is A-17,
but the result is different. Return to the original source. Preserve the
approved product region and change only the surrounding layout. Keep the
failed export separately. Deliver a new version and repeat the code,
product-count and actual-dimensions checks.
Do not use this request to imply exact preservation is guaranteed. Inspect the new output. If two attempts repeat the same failure, a deterministic composition of the original product and a separate background can be more appropriate than another unconstrained generation.
If a request fails before producing an image, diagnose the response before retrying. Check the endpoint, accepted size values and request shape in the image API troubleshooting guide. A format error is not solved by changing the visual prompt. Model-specific output formats also vary; do not copy GIF or SVG parameters into an ordinary raster-image request without checking support.
Deliver a usable asset set
Keep accepted exports in a separate folder from source files and rejected versions. Use stable names with dimensions or a manifest that maps each file to its intended placement. Include the original, the permitted-use context, the chosen operation, measured specifications and the remaining review notes. Do not make your colleague infer which of three similarly named files is final.
For a one-off task, bring the source and the export table to Ofox Chat and use the same acceptance rules. For a recurring catalog, turn approved sizing and naming rules into a repeatable batch process, then reserve generation for cases that actually need new imagery. The value is a consistent, checked delivery set—not the number of image calls used to create it.